Here’s the thing about gardening: if you’re just starting out, there are an overwhelming number of resources and ports for advice. There are countless books and TV shows and YouTube channels and people like me, offering guidance that should be simple but inevitably ends up trailing off tangentially into particulars you probably don’t need to know right away.
There is so much to learn and so many places to learn from that it can be quite intimidating trying to flex your green fingers for the first time, especially because the availability of so much information can make you feel like you shouldn’t be making any mistakes. Which isn’t the case, of course. The more I learn about gardening, the more I understand that mistakes are utterly essential. You can absorb all of the best advice in the world but you’ll never learn as well as the day you fluff something up. And you’ll probably feel like a beginner for a very long time (which is an exciting place to be).
Let go of perfection as the goal, and let go too of the idea that with gardening, there is always a right and a wrong way to do things. Gardening can be quite stuffy and at times, gatekept, defined by rules, routes to success and long, latin names, but the pleasure of bringing something to life, of being nature’s dutiful steward, is for everybody; it doesn’t matter if you can only identify a sunflower or barely understand photosynthesis.
The purpose of this article is to break down the fundamentals of growing, one beginner to another: sun exposure and movement, soil type, plant longevity and plant hardiness. I’ll decode the popular jargon you’ll often encounter and also offer some guidance on containers, planting schedules and tools. You won’t leave an expert but you’ll hopefully feel more confident engaging with your outdoor space, armed with enough basic knowledge to tackle the garden centres and find a pocket of gardening’s vast tapestry that excites you the most.
Garden Toolkit
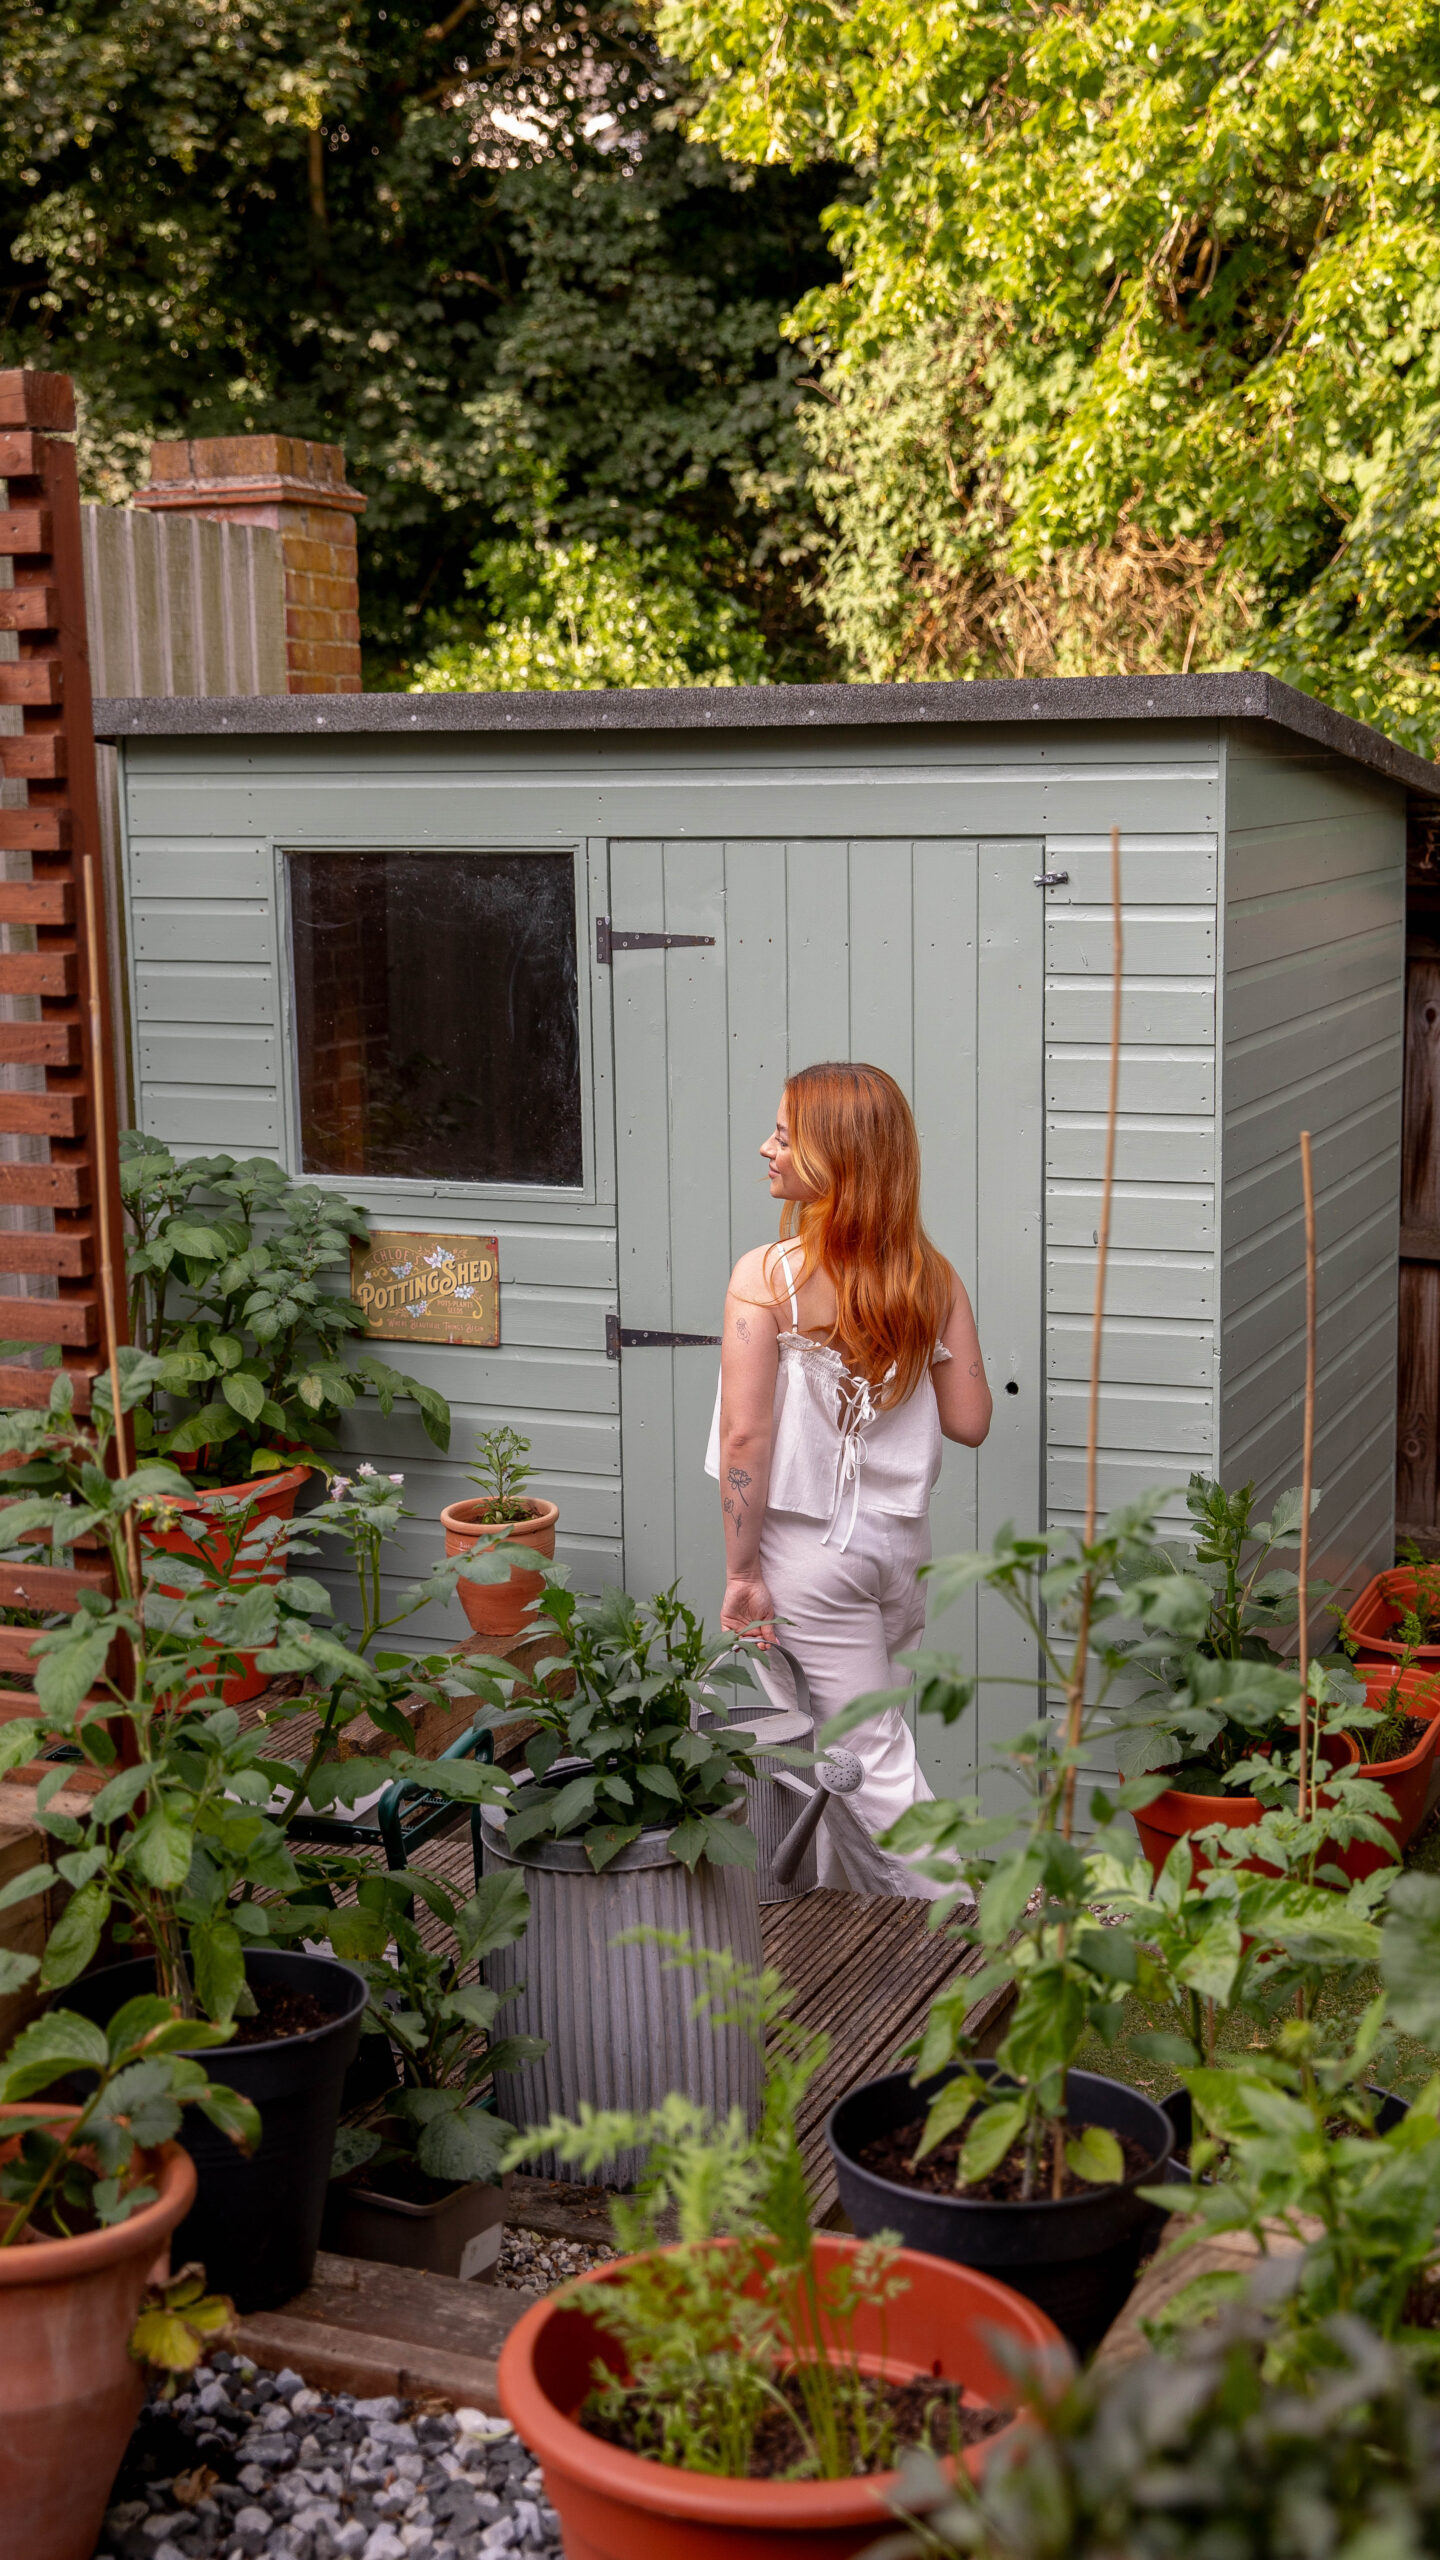
There are so many tools and gadgets you can buy for gardening and each does something to make certain things easier or more effective. You don’t necessarily need them all, though.
(The links below are affiliate links. If you purchase something through one of the links, I will make a small commission.)
To get started, I think the essentials are:
It’s also useful to have:
- A trug or container for transporting garden waste to your brown bin or composter
- Some sort of basket for collecting flowers/veggies
- A watering can or hose (but you could always use a plastic bottle with holes poked in the lid if you don’t want to commit to something larger – it will take longer to water of course!)
- Plant labels (you can use ice cream sticks, butter tubs, old pieces of wood, even stones drawn on with paint pens instead)
- A larger spade and fork
- A dibber, which is a device for easily creating bulb or seed-ready holes in soil
- Bamboo canes or some sort of alternative long stick for staking tall plants
- A rake or something similar for collecting dead leaves in autumn
- A patio weed scraper or patio weed brush
My favourite places to buy bulbs and dahlia tubers:
Sun Movement
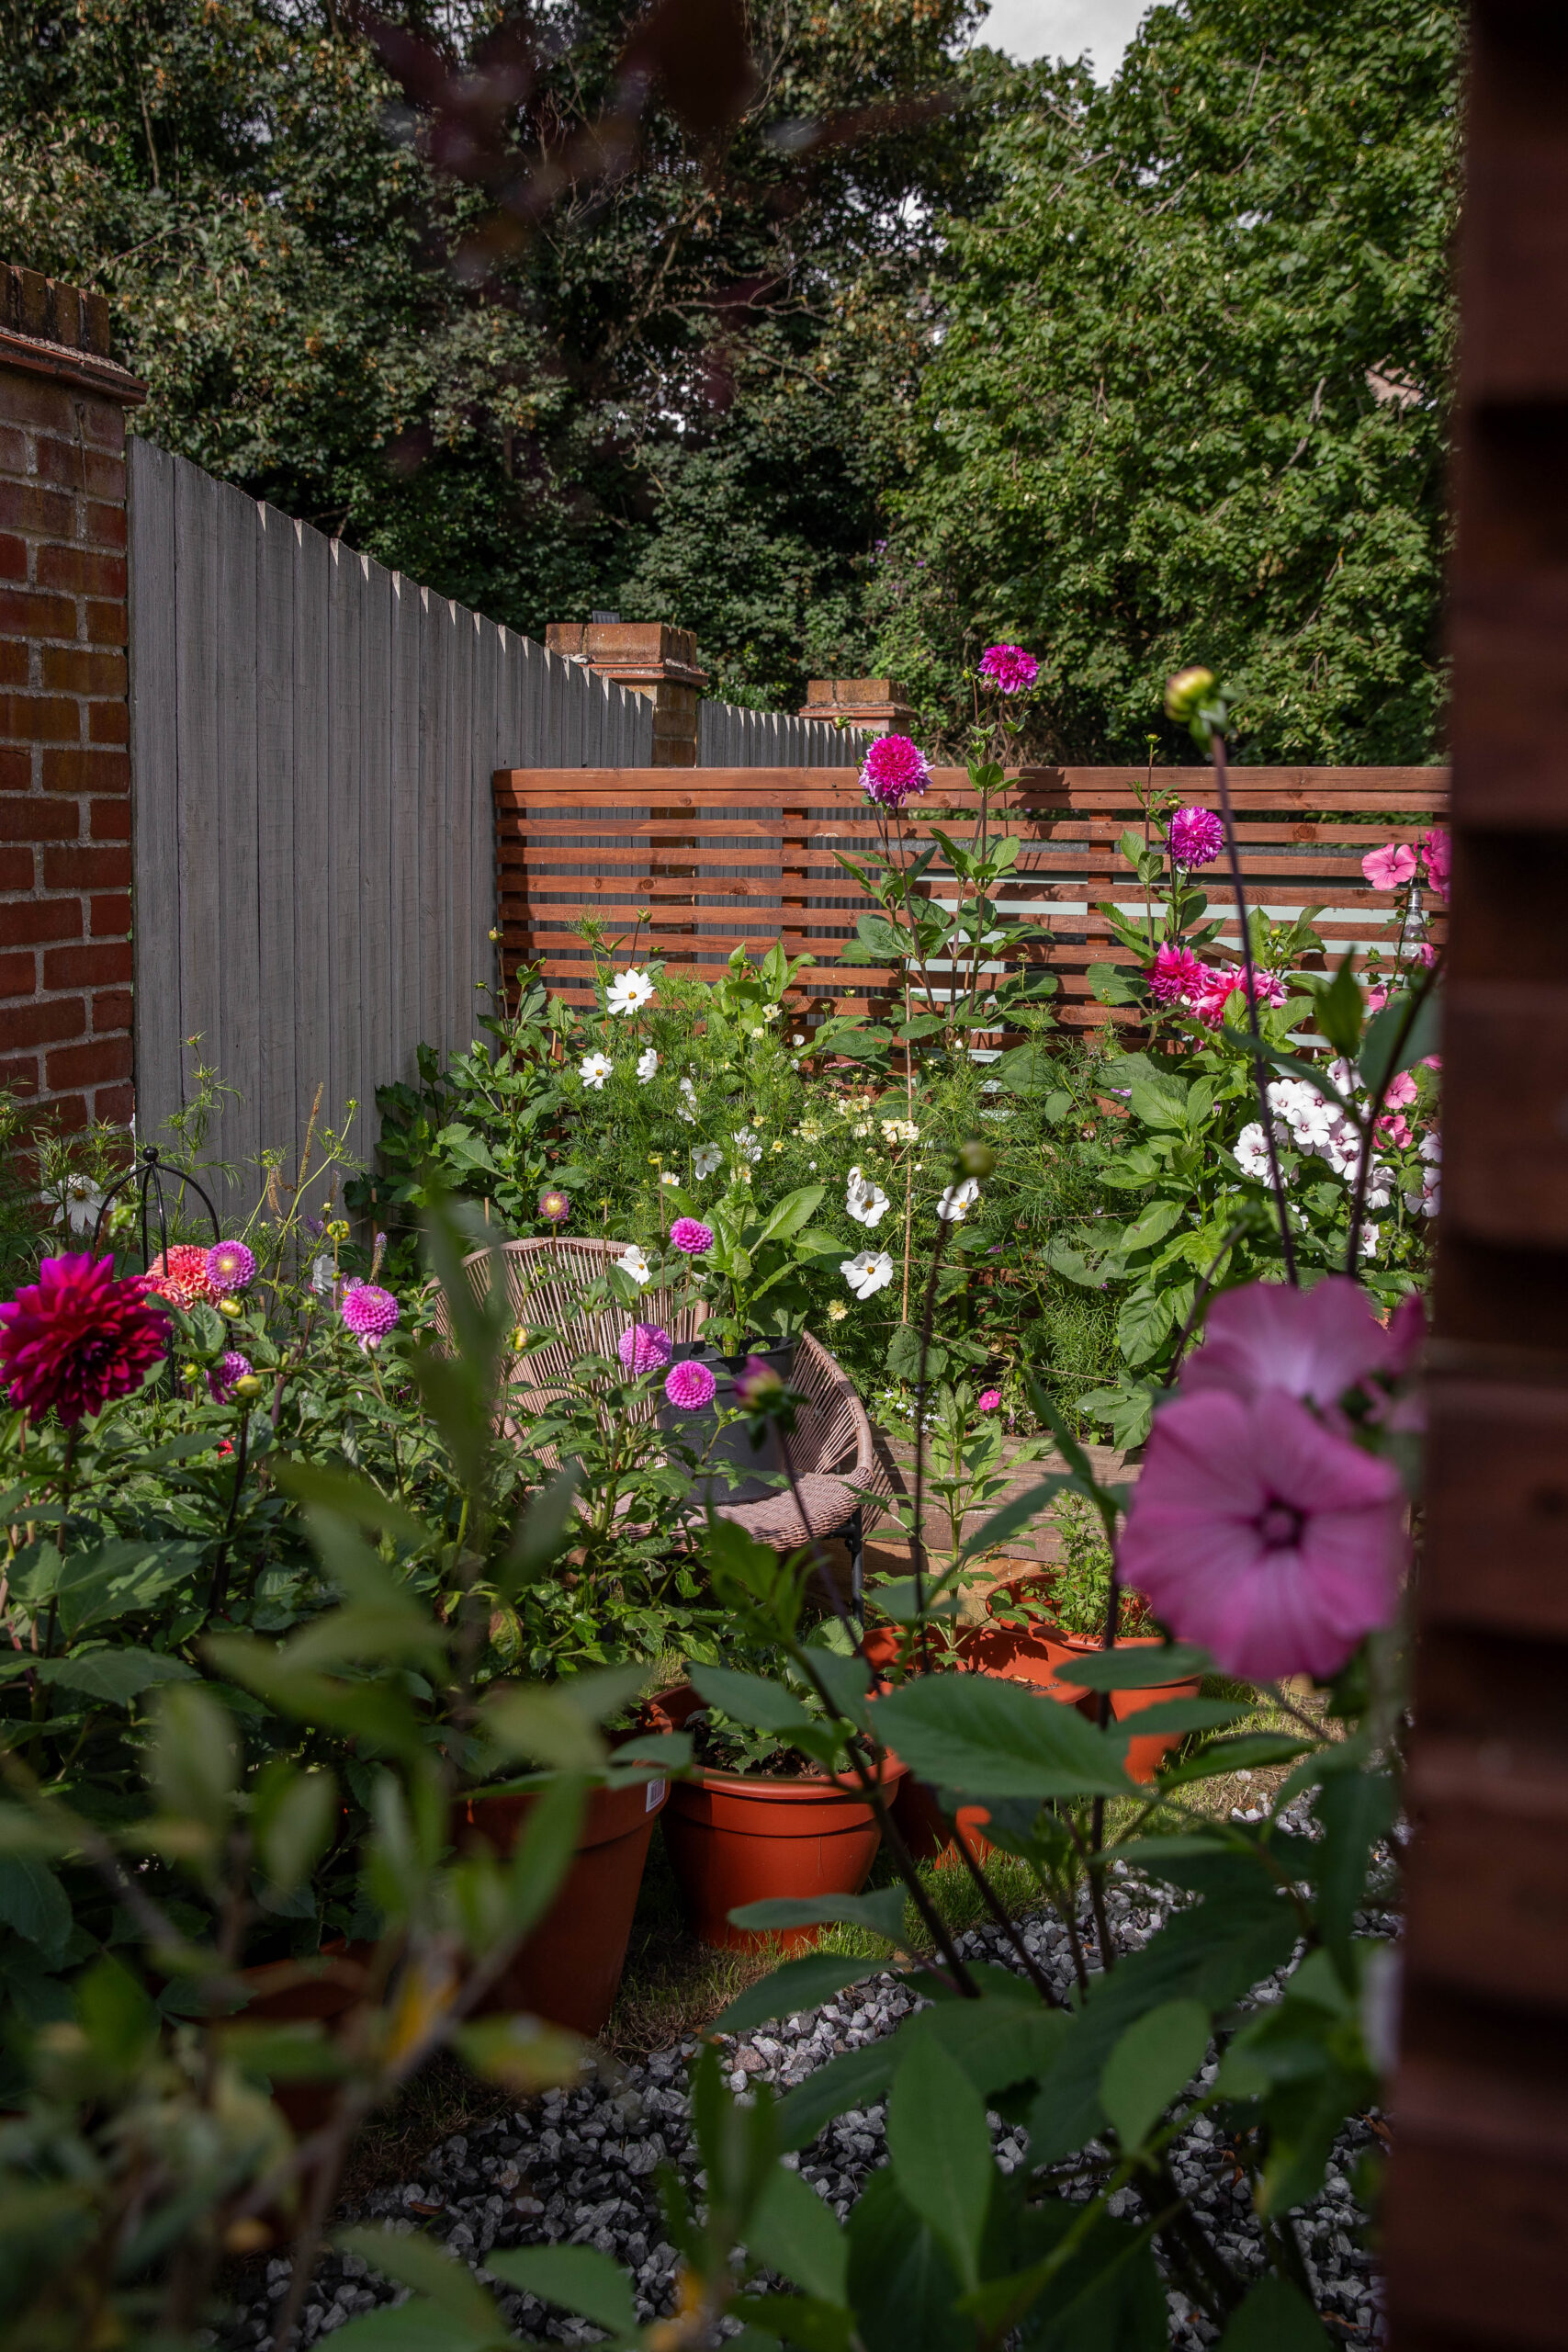
One of the first things you’ll want to do is establish how the sun moves across your outdoor space.
It’s useful to understand how the sun moves across our outdoor spaces – where it settles most and where it brushes right over – because sun exposure dictates what we can grow and how.
Different plants enjoy different levels of sun exposure. Some absolutely adore the shade (one of my favourite shade-loving plants is Astilbe, which is colourful, ostentatious and bristling with texture), whereas some, like dahlias or sunflowers, love to be in the sun all day long.
Fruit and vegetables are the same. Tomatoes need direct sunlight to grow and ripen into the juicy little treats that they are, whereas beetroot, radish and lettuce thrive in shaded areas.
These are the important terms that you’ll come across:
FULL SUN:
Full sun means at least 6 hours of direct sunlight.
PARTIAL SUN/SHADE:
Partial sun/shade means 3-6 hours of direct sunlight.
FULL SHADE:
Full shade means less than 3 hours of direct sunlight, or no direct sunlight at all. It doesn’t mean complete darkness.
*NOTE: these terms refer to spring/summer when we (supposedly) enjoy the most sun.*
Most of us will experience some degree of sun movement with our outdoor spaces.
In my garden, the sun starts its day around the patio, before gradually moving down the left side and settling at the end. This means that the middle-left to end of my garden enjoy FULL SUN, my patio area enjoys PARTIAL SUN/SHADE and the right side of my garden is in FULL SHADE.
It might be that you only have access to a petite balcony which is never exposed to direct sunlight, or perhaps you’re gardening in a much larger expanse of space which sits in the sun all day long. If you do find yourself sitting in one end of the extremes, don’t panic! All this means is that what you plant and grow will be a little more heavily influenced.
Some plants are more flexible and will grow outside of their ideal growing conditons. For example, I have successfully grown dahlias (which like full sun) in areas of partial shade and they will still produce blooms, just slower and with less frequency.
Other plants are very stubborn and want what they want. If you plant them outside of their ideal growing conditions, they’ll either remain stunted and not grow at all or wither and die.
It’s all trial and error!
Soil Type

No Dig Gardening
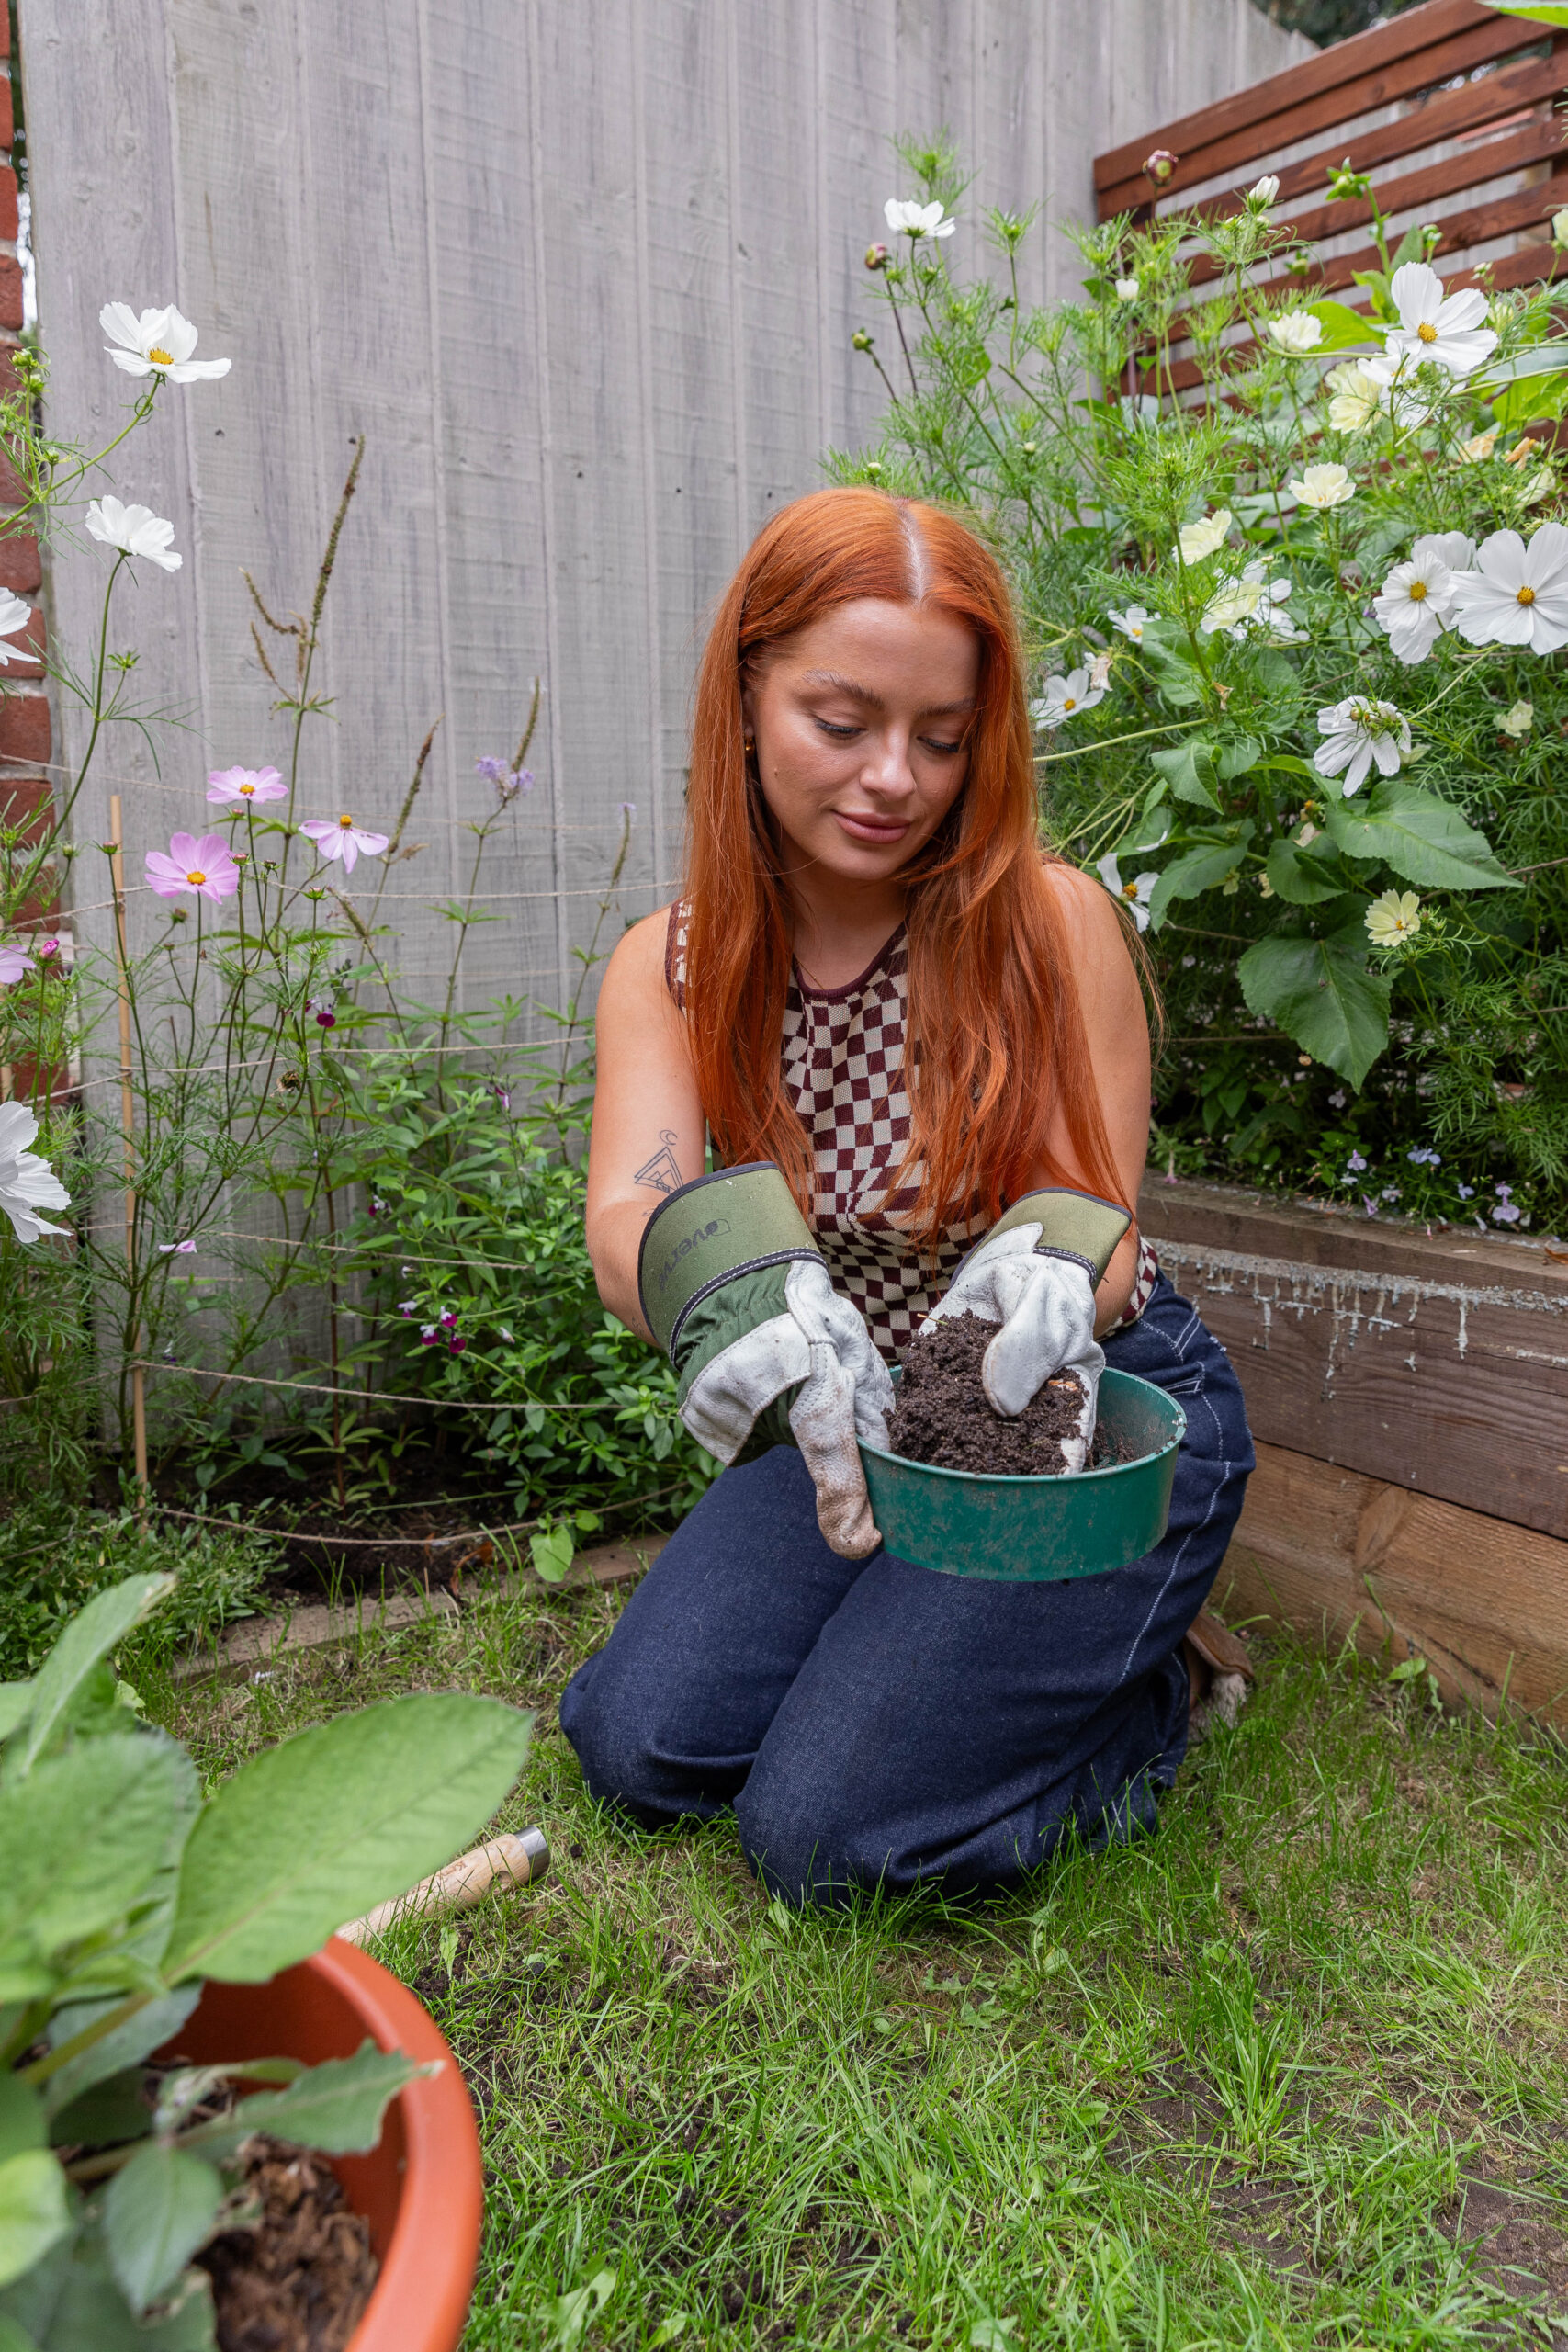
No-dig gardening is becoming more and more popular as a more ecologically responsible method of planting.
Instead of digging down into the soil, compost/organic matter is piled on top of beds to be planted into.
There are a number of benefits to no-dig gardening. Digging into the ground disturbs soil structure, possibly harming worms and other creatures which benefit the ecology of the soil (worms are great!). There is also carbon captured within the ground which, when dug up, oxidises and releases into the atmosphere as carbon dioxide. On top of that, when you’re digging around in the ground, it’s easy to earth up weed seeds and roots which will germinate on the surface and spread through your beds.
No-dig gardening has been championed particularly by people growing produce but it is becoming more and more popular as a complete gardening method.
However, I still think its useful to understand soil composition and characteristics as it breeds a greater understanding of plant growth.
But if the ease of no-dig gardening appeals to you, it isn’t essential! You can skip this entire next section.
If you’re planting directly into the ground, you’ll want to know your soil type.
Different soil types have different characteristics which influence what you can grow and how. Some soil types retain water more fervently and so might become waterlogged, for example, whereas others drain easily and so dry out more readily.
Depending on what your soil type is, you can introduce different mediums (like compost or manure) to ‘improve’ it and make the growing conditions more favourable. The RHS has a really handy article covering organic matter and soil improving here.
There are a few main soil types. You might find that your soil appears to be a mixture, and you might also find that different areas of your garden offer different textures completely. It’s rarely as straightforward as picking up the soil and having a clearcut, eureka moment: aha, clay!
If you’re container gardening, none of this applies to you. My previous garden was entirely concrete so I grew only from containers, and even now, I only have a single bed dug into the ground – everything else is planted into a pot or raised bed. Since containers aren’t drawing from the earth, we don’t need to know what type of soil exists. We do, however, need to feed our containers because the compost is a finite resource: once the nutrients are depleted, more cannot be drawn from the earth and so we need to lend a helping hand to keep our plants happy.
More on container gardening later – first, let’s break down the main soil types.
Key Nutrients Derived from Soil
These are useful to know because they are the nutrients you’ll be looking for in soil improvers and fertilisers.
Top three: nitrogen, phosphorous, potassium
Also important: magnesium, calcium and sulphur
Absorbed from the air: oxygen, carbon, hydrogen
CLAY SOIL:
Clay soil is quite heavy. It compacts easily when wet but also bakes bone dry in intense heat.
Because of its composition, clay soil holds on to water and doesn’t drain quickly, which means it runs a higher risk of becoming waterlogged and rotting your plants’ roots. Clay soil also takes longer to warm up in spring, and the warmth of your soil in combination with a few other factors is what kickstarts your spring bulbs to start growing. This means if you’re planting in clay soil, you might find your daffodils, tulips and aliums start growing a little later (*if* you don’t do anything to treat or improve the soil).
Because of its nature, however, clay soil doesn’t dry out quickly, and so requires less watering. It also retains nutrients well.
SAND SOIL:
On the other hand, sandy soil is quite light. It features a high proportion of – you guessed it – sand, which means it drains moisture easily. The downside of this is that you might need to water more often since sandy soil dries out a lot quicker. Sandy soil also struggles to hold onto nutrients because they are often washed away by the rain and then readily drained out.
Sandy soil warms up quicker than clay soil in spring.
SILT SOIL:
Silt soil is made up of quite fine particles, which means it compacts easily like clay soil when wet, but is much more free-draining, like sandy soil. Due to the fine particles, you might find silt soil more prone to damage from the elements without protection, or that it needs some sort of organic matter (like manure or compost) to bind it together.
Silt soil holds more nutrients than sandy soil which makes it quite fertile, too.
CHALK SOIL:
Chalky soil is often quite stony which makes it particularly free-draining, but the it won’t be very deep.
The important thing to note about chalky soil is how alkaline it is. Some plants need acidic soil to grow and chalky soil can’t easily be ‘improved’ to change this, so certain plants aren’t suitable for chalk soils (but I maintain the opinion that you can always try and see what happens).
Chalky soil isn’t nutrient-dense, however if it is mixed with clay soil then there may be a higher nutrient value.
LOAM SOIL:
The it girl of the soil world. Everybody wants to have her, everybody wants to be her. Loam soil is the ideal soil type.
Not to give her a big head, but she is the best of all worlds. Consisting of clay, sand and silt particles, this perfect concoction makes loam soil free-draining, quick to warm up in spring and packed full of nutrients.
Loam will compact easily but won’t hold its shape like clay soil.
You’ll still need to feed the soil at some point to bolster what your plants are drawing out, but by and large, it’s the crowd-pleaser of the soil world: most plants will successfully grow in loam soil without much soil management.
PEAT SOIL:
I’ve left this until last because it’s not one you really need to know, given that peat soil is very rarely found in gardens.
Peat soil is very acidic which is ideal for plants like azaeleas, rhododendrons and camellias which won’t grow in alkaline conditions.
Peat soil is made up of a lot of organic matter which makes it impressively nutrient-rich and fertile. It retains a lot of moisture like clay soil so it runs the risk of being waterlogged. It might feel spongy if you squeeze it (why not?).
*NOTE: LandIS is a handy and free interactive map created by Cranfield University which seeks to map out soil types across the UK. It might not be entirely accurate for your outdoor space as it may have been lanscaped or altered by human intervention, but it is pretty cool.*
Soil pH Balance
I’ve touched on soil pH balance briefly above, but this is something else, along with the type of your soil, which will affect what you can grow and how.
Some plants like azaeleas, rhododendrons and camellias need to be grown in acidic soil. This is because they have evolved from certain environments which means that they cannot absorb vital nutrients when grown in soil which is alkaline.
Similarly, some plants won’t thrive in acidic soil.
Can you change the pH balance of your soil?
In short, you can certainly try, but it probably isn’t worth it.
The pH balance of your soil is dictated by the earth it sits upon and the wider environment it sits within. It can be both costly and time-consuming trying to alter the pH balance and there is no guarantee that it will work, so you’re better off trying to work with it.
Alternatively, grow in containers! You’ll be able to control and influence the pH balance of compost/soil within containers much more easily.
How can you test your soil?
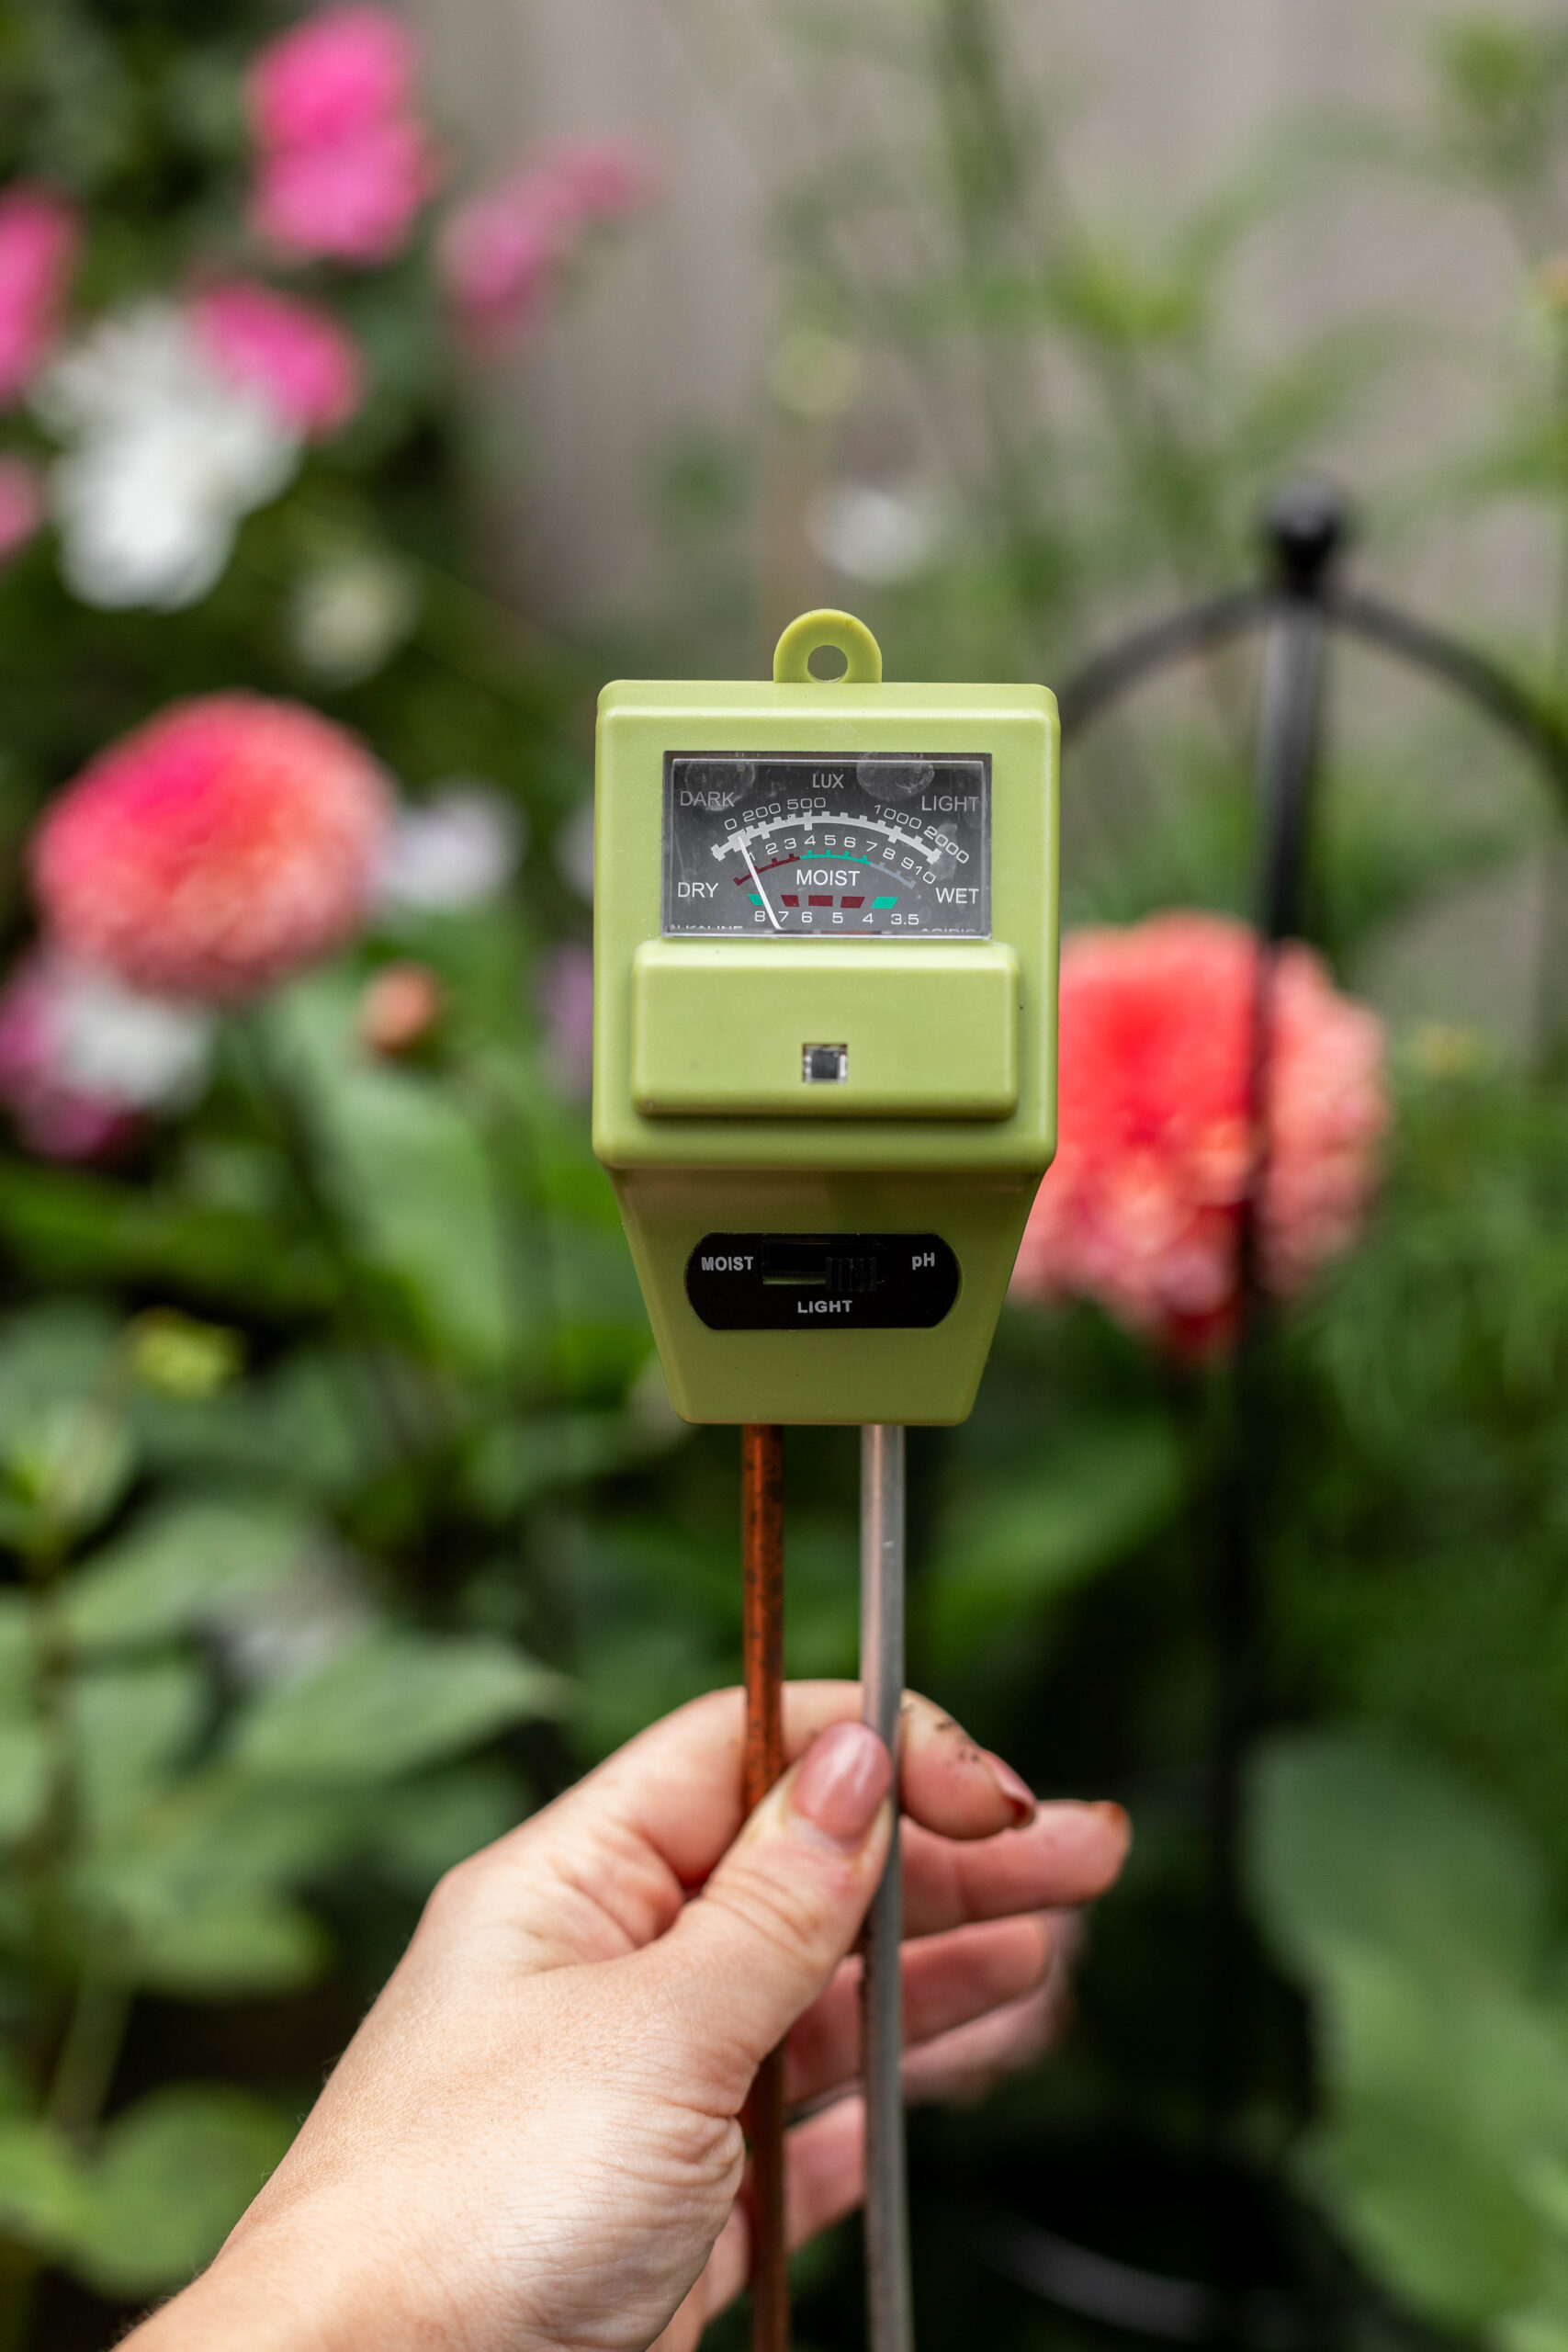
You can pick up cheap soil testers like the one above for relatively cheap. Simply stick them in the ground to test the pH balance and moisture level. These devices aren’t particularly precise but they’ll give you a rough estimate of what you’re looking for.
For a more accurate reading, you can buy pH liquid soil testers, a bit like the litmus test you’d do in science lessons at school.
Container Gardening
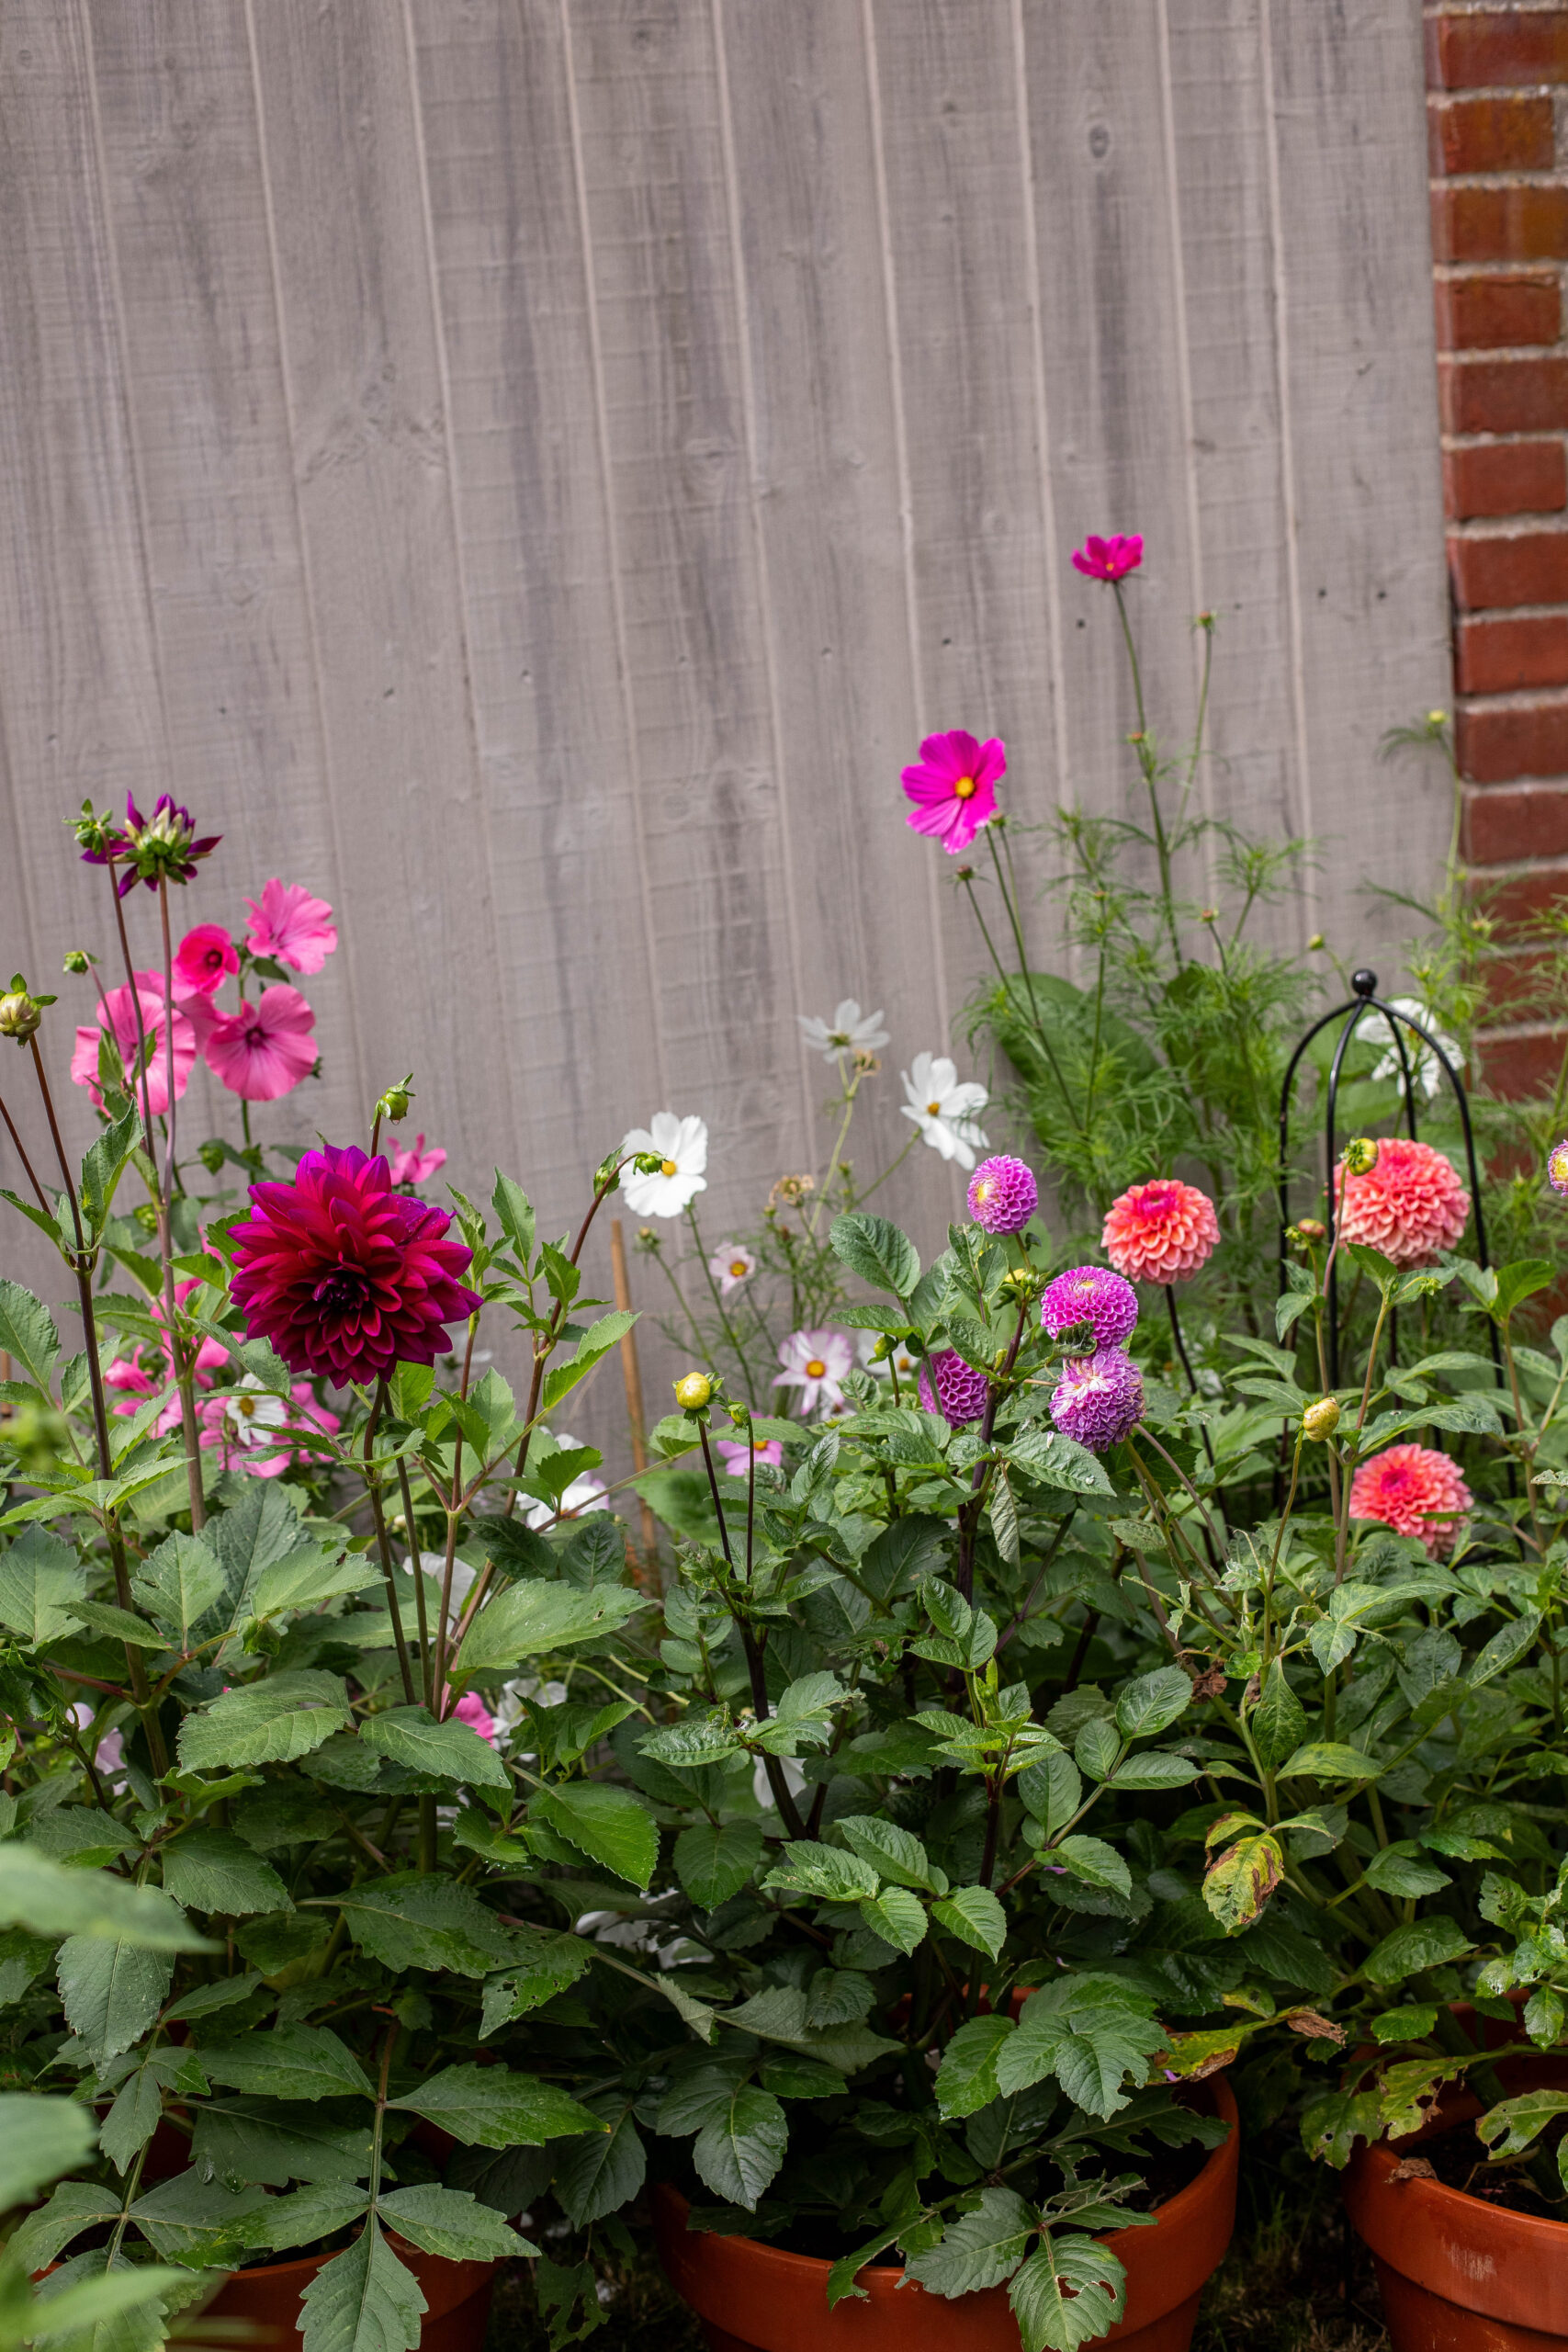
I am a huge proponent of container gardening because, so far, it’s all I’ve ever known. My first garden was entirely concrete and quite petite so I had to grow everything in pots or small, shallow raised beds.
Fast forward a few years later and my garden now isn’t hugely different. I do have access to some ground but this is pretty limited – I’ve only dug in one thin border. Everything else I grow in raised beds or pots.
The pros of growing in pots
I love growing in containers for a few reasons.
Firstly, controlling the growing medium (what the plant grows in) is so much easier. You can buy compost tailored to whatever it is you’re looking to grow and then top it up with complimentary fertilisers, plus you have a greater grip on the pH balance.
Secondly, at least with pots, they can be moved around. I’ll have a shuffle around fairly regularly in my garden, bringing plants that are vigorously flowering to the forefront view, while others that have perhaps finished their life cycle or aren’t looking too perky can be hidden elsewhere. Think of garden pots as the fun accessories of your garden design (or the heart of it, in my case).
The cons of growing in pots
Space is obviously a factor. Some plants need a lot of space to grow and so, at first glance, might not seem suitable for pots. However – and this is a big however – where there is a will, there is a way. Whatever you can think of, I promise that somebody somewhere has found a way to grow it from a container or pot, whether that’s growing vertically instead of horizontally or working with dwarf varieties of larger plants. So never say never, basically.
Plants grown in containers tend to lose moisture a lot more quickly, too, especially plants grown in terracotta. Terracotta is porous and a heat conductor, so it heats up and soaks up the moisture at the same time. It’s still very much possible to grow plants this way, it just means you have to be more vigilant with watering.
What should I put in my pots?
To keep things simple, you can’t go wrong with multi-purpose compost. It’s like the vanilla ice-cream of the compost world – nearly everything likes it, but there is probably something a little better. The better option might be John Innes compost.
Mutli-purpose compost is soil-less. This confused me so much at first – isn’t it soil? But no, it isn’t. Multi-purpose compost consists of biodegraded organic material like coir (which comes from coconuts) or peat (which is extracted from vital and endangered natural environments in the UK – avoid peat!).
John Innes compost mixes are soil-based (John Innes refers not to the brand but the type of compost – this is another thing that confused me for a really long time). Historically these have included peat and some still do today, so always seek out peat-free mixes which have less impact on the environment. Because they are soil-based, John Innes mixes are heavier and more stable in terms of water retention and nutrient levels.
Typically it’s advised that for shorter-term planting – annuals and vegetables – multi-purpose compost is the way to go. For longer-term planting – perennials, trees etc. – then John Innes might be better.
To be completely honest with you, I’m never this fussy. I keep a bin full of multi-purpose compost with added John Innes (the best of both worlds) in my shed to dip into whenever I need it.
When potting up, I’ll put some large stones at the bottom to aid with dranage (if I can find some!), fill the pots with multi-purpose and then feed them to give them a little nutrient boost whenever they might need it.
You can also buy container-specific compost which has been fortified with additional nutrients.
What should I put in my raised beds?
I treat raised beds a little differently than pots because the volume of growing medium required is considerably larger.
You can fill raised beds with multi-purpose compost but it might get quite expensive, plus, over time, the raised bed will need a lot more intervention to keep the compost nutritious and moist.
Instead, it’s worth mixing in some top soil which you’ll likely find being sold next to compost in shops.
Top soil is soil-based (what gave it away?), so it’s nutritionally dense and holds on to moisture better than multi-purpose compost alone.
You might also want to line your raised beds first with cardboard, gravel or plastic – or all three! This is done to suppress weed growth, bolster insulation and improve drainage.
So: cardboard first, then gravel/stones or some sort, then plastic around the edges – most people use compost bags turned inside out. Then add a mixture of top soil and multi-purpose compost, perhaps with some granular fertiliser.
There are alternative ways to fill your raised bed and you could simplify the above process even further, but that should be enough to get you started.
Do I need to replace the compost in my pots and raised beds?
You don’t necessarily need to replace the compost (although I sometimes do with my pots if I feel they need a blank slate), but you definitely need to refresh it. This is called top-dressing.
Top-dressing is the simple practise of removing the top layer of compost to replace it with compost that is fresh, and perhaps a little fertiliser too. It gives your containers the boost of nutrients they need and helps keep your potted plants happy.
Plant Longevity
Now we’re getting to the interesting stuff.
What I’m talking about below technically falls under plant ‘types’, but I’ve separated the key terms out into this longevity section because, in a way that is entirely confusing for beginners, plants can be multiple types at one time, and different varieties of that same plant may differ too.
It can be a lot of information to take in at once, so here are the key terms you’ll want to know.
ANNUALS:
Annual plants complete their life cycle of growing, flowering, setting seed and dying, all in one year. They won’t survive outside of the growing season because they’re not supposed to, however if they’ve set seed and successfully germinate, you might (hopefully!) see more of the same the following year.
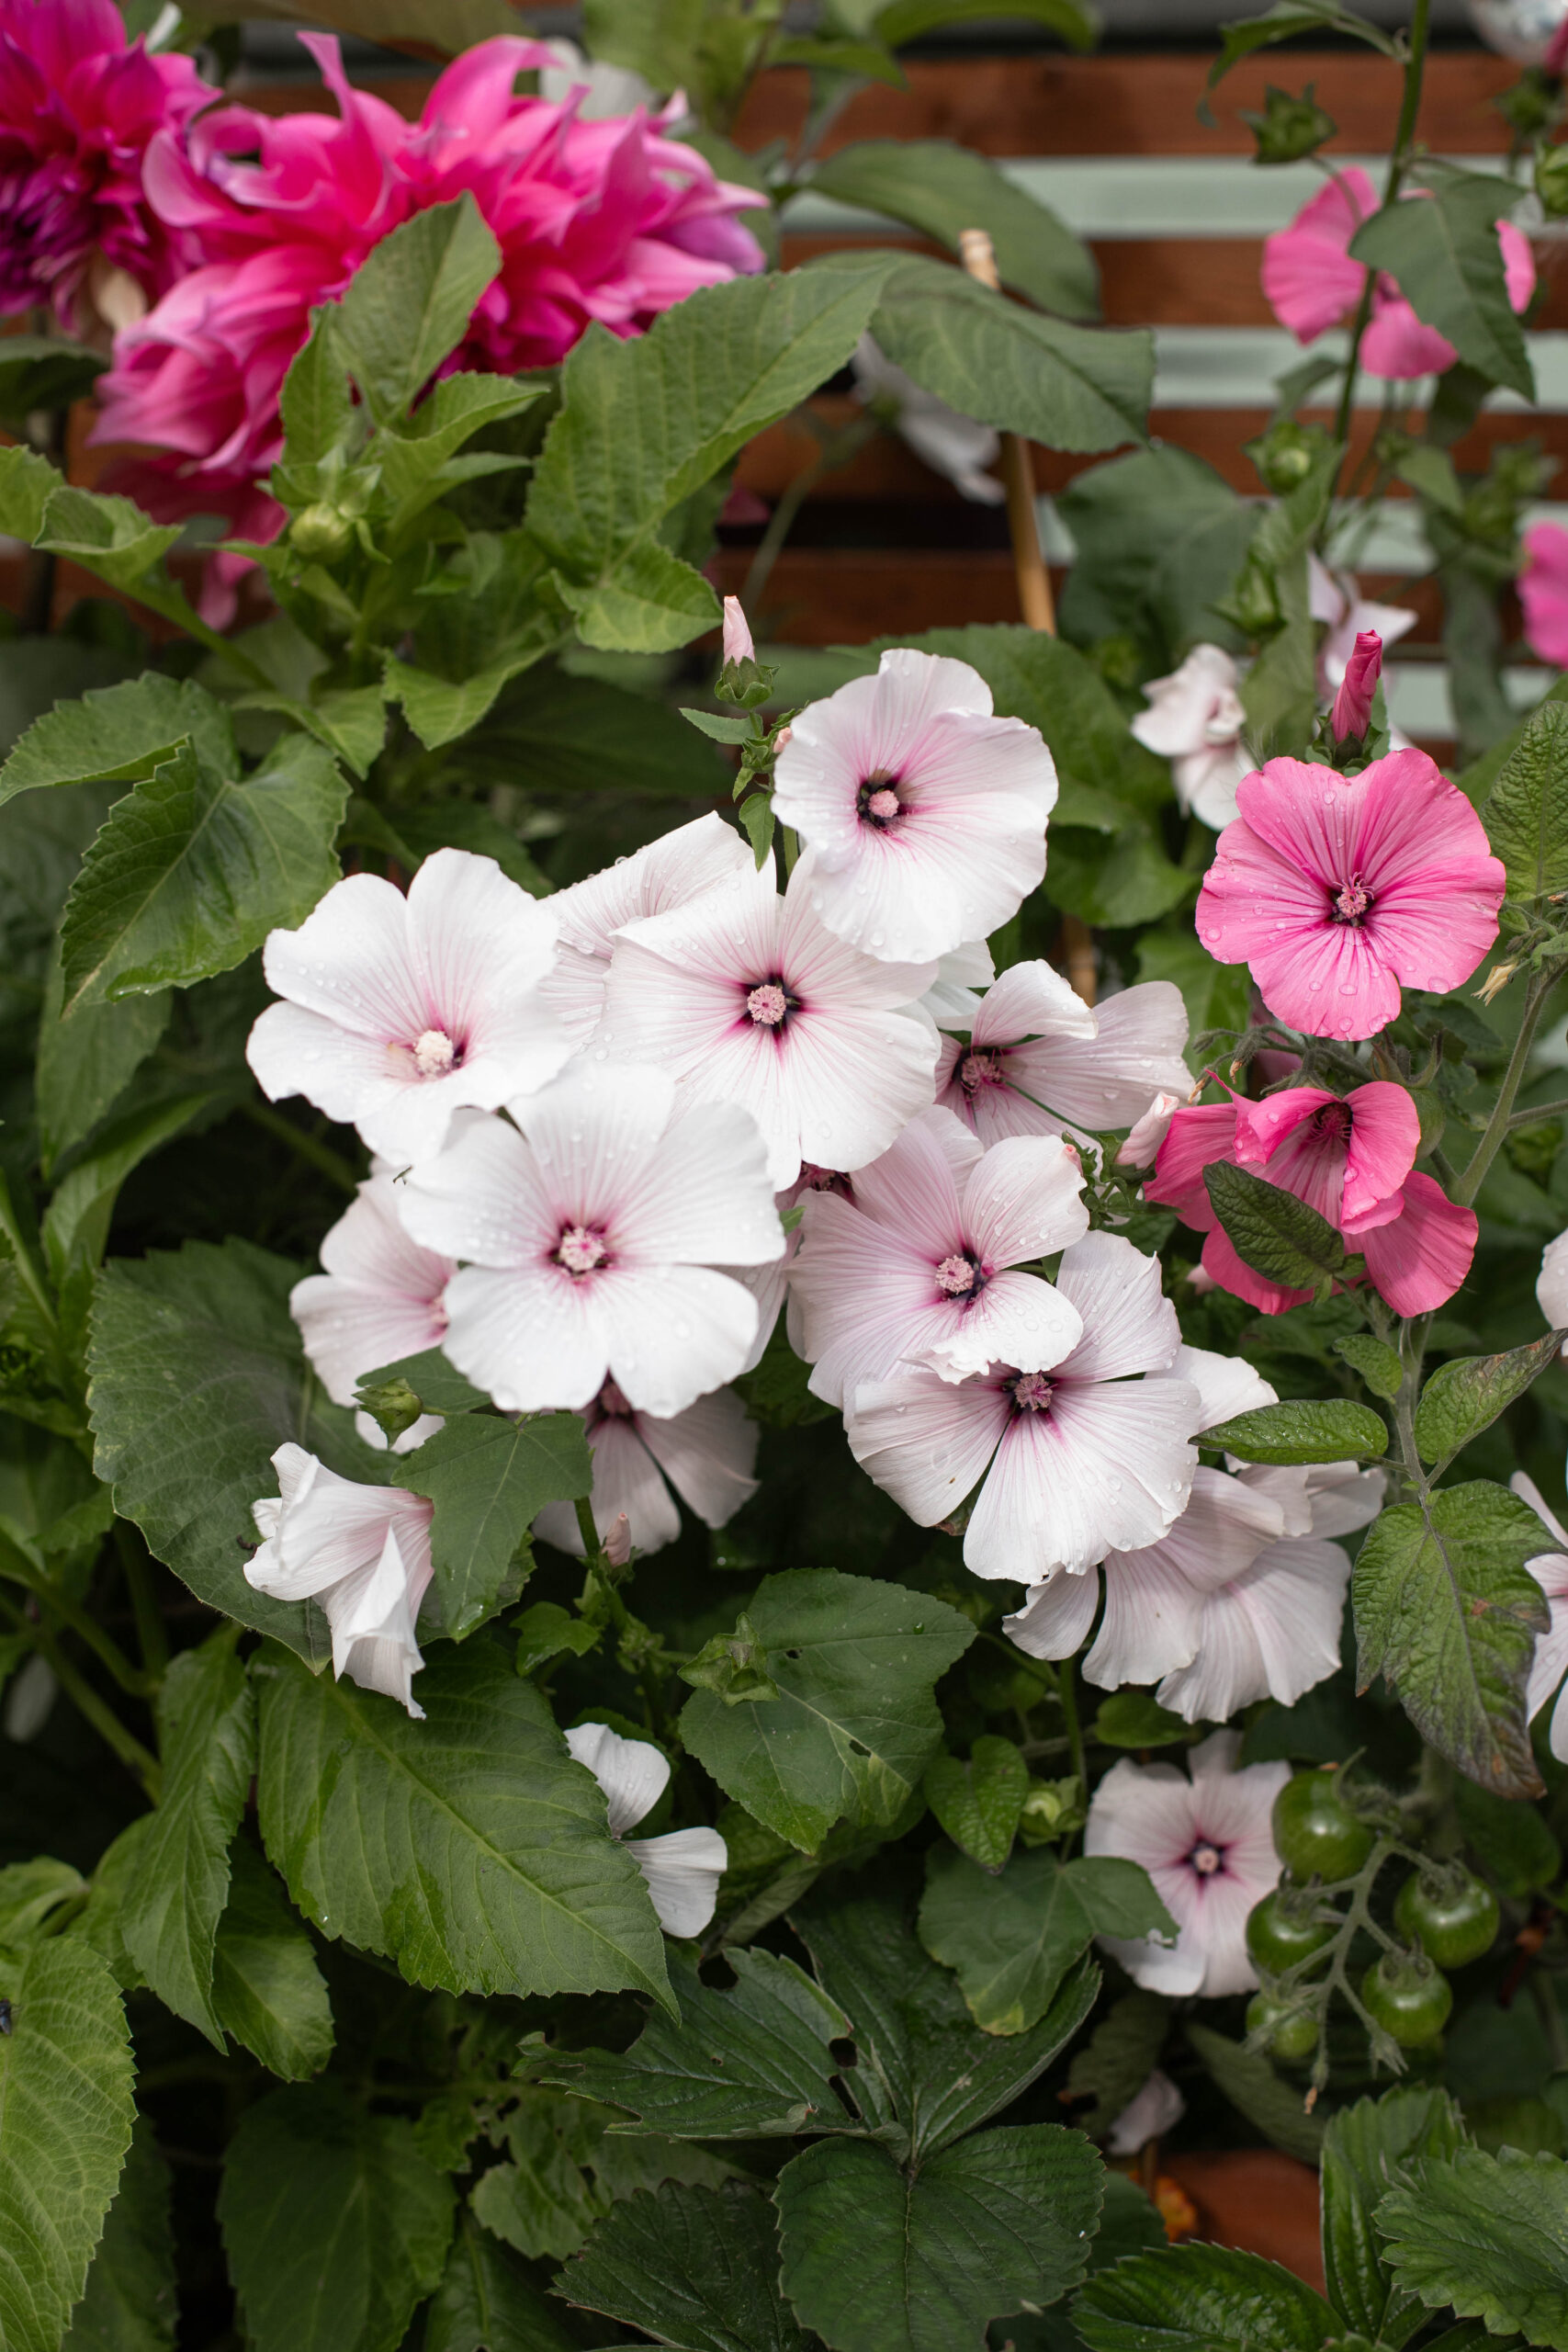
Annual plant examples: sweet peas, lavatera, cosmos
BIENNIALS:
Biennal plants complete their life cycle of growing, flowering, setting seed and dying in two years. Foxgloves are a great example of a biennial. You might not get flowers the first year of planting them, and if you want them to successively self-seed around your garden, you’ll need to plant them two years in a row (then they’ll take care of themselves). Carrots, interestingly, are also biennials. The first year they grow the fruit, which is the carrot, but in the second year they put out beautiful flowers which contain the seeds to grow more.
Biennial plant examples: foxgloves, carrots, hesperis
PERENNIALS:
Perennials live at least three years, if not longer. Some perennials may only live for three years whereas some may live for 10 years; the term ‘perennial’ is really just a catch-all for any plants that aren’t annuals or biennials.
Just because a plant is a perennial doesn’t mean that it will definitely live a long life, though. Some perennials are tender, which means they can’t withstand cold temperatures or strong weather conditions (more on this below) so if grown outside of the right conditions, they might only last a short amount of time or not thrive at all.
Perennials plant examples: hydrangea, roses, salvias, phlox
*NOTE: to complicate things further, different varieties of the same plant may fall under different longevity categories. Salvias, for example, can be perennial or annual. Always check the label or seed packet for the particular variety you’re growing to be sure.*
Plant Hardiness
Onto more jargon.
A plant’s hardiness refers to its ability to withstand adverse weather conditions, typically meaning the more extreme fluctuations we experience in winter, especially frost.
The RHS has devised a hardiness scale comprising of 9 different levels, but that’s a little extra for a beginner’s guide. Instead we’re going to cover the main three categories that you’ll find on seed packets and plant labels.
What do you need to know about hardiness?
Some plants will endure winter with no intervention whatsoever and reemerge in spring, splintering new, green growth.
Others will make it through winter with a little help – they might need mulching or protecting with something like a fleece to keep the worst of the conditions out.
And then there are plants which will shrivel up under winter’s first breath and that’s it: dead.
It’s useful to know the hardiness of a plant because it helps to inform where (and if) you plant certain things. The hardier the plant, the less attention it will require from you to survive, so if you’re wanting to create a low-maintenance garden, then you’ll want to choose hardier plants.
To make things slightly more confusing, hardiness can be affected by environment. If planted up against a wall, under a tree or in another area of relative cover, a plant’s hardiness may increase as it’s more protected from the elements. If a plant is out in the open, you might find that it’s a little more tender.
So something to keep in mind: the more exposed a plant is, the less hardy it may be.
HARDY:
Hardy plants will survive an average-cold winter without any intervention. In terms of temperatures, the lowest they can withstand is between -5 and -10 degrees, although if the plant is in a pot, they are much more vulnerable. Hardy plants might die back over winter but they will reemerge the next year with renewed growth. Evergreen shrubs will stay green (or whatever colour they might be) all year without dying back (unless the conditions are particularly harsh).
HALF-HARDY:
Less tolerant of adverse conditions than hardy plants, half-hardy plants typically require some sort of protection to survive winter. This may be a fleece or a heavy mulch.
(‘Mulching’ refers to the practise of layering a medium on the surface of the soil to overwinter what lies beneath. This could be straw, compost or bark. Instead of the soil freezing and thawing every time the sun comes out, the mulch moderates the temperature and locks the plants in a dormant state which is much less stressful for them. When the risk of frost has passed, you can remove the mulch and the plants will kickstart once the temperature of the soil has heated up.)
TENDER:
Tender plants are silly, soft sausages. They can withstand the cold but as soon as temperatures reach the 1 degree or less mark, they will perish. In order to overwinter tender plants, you’ll need a greenhouse, shed or to bring the plants indoors. You might be able to mulch them if the conditions aren’t too extreme (inner cities, for example, tend not to experience as harsh a frost as those in remote countryside settings), but this might be risky.
My Planting Schedule
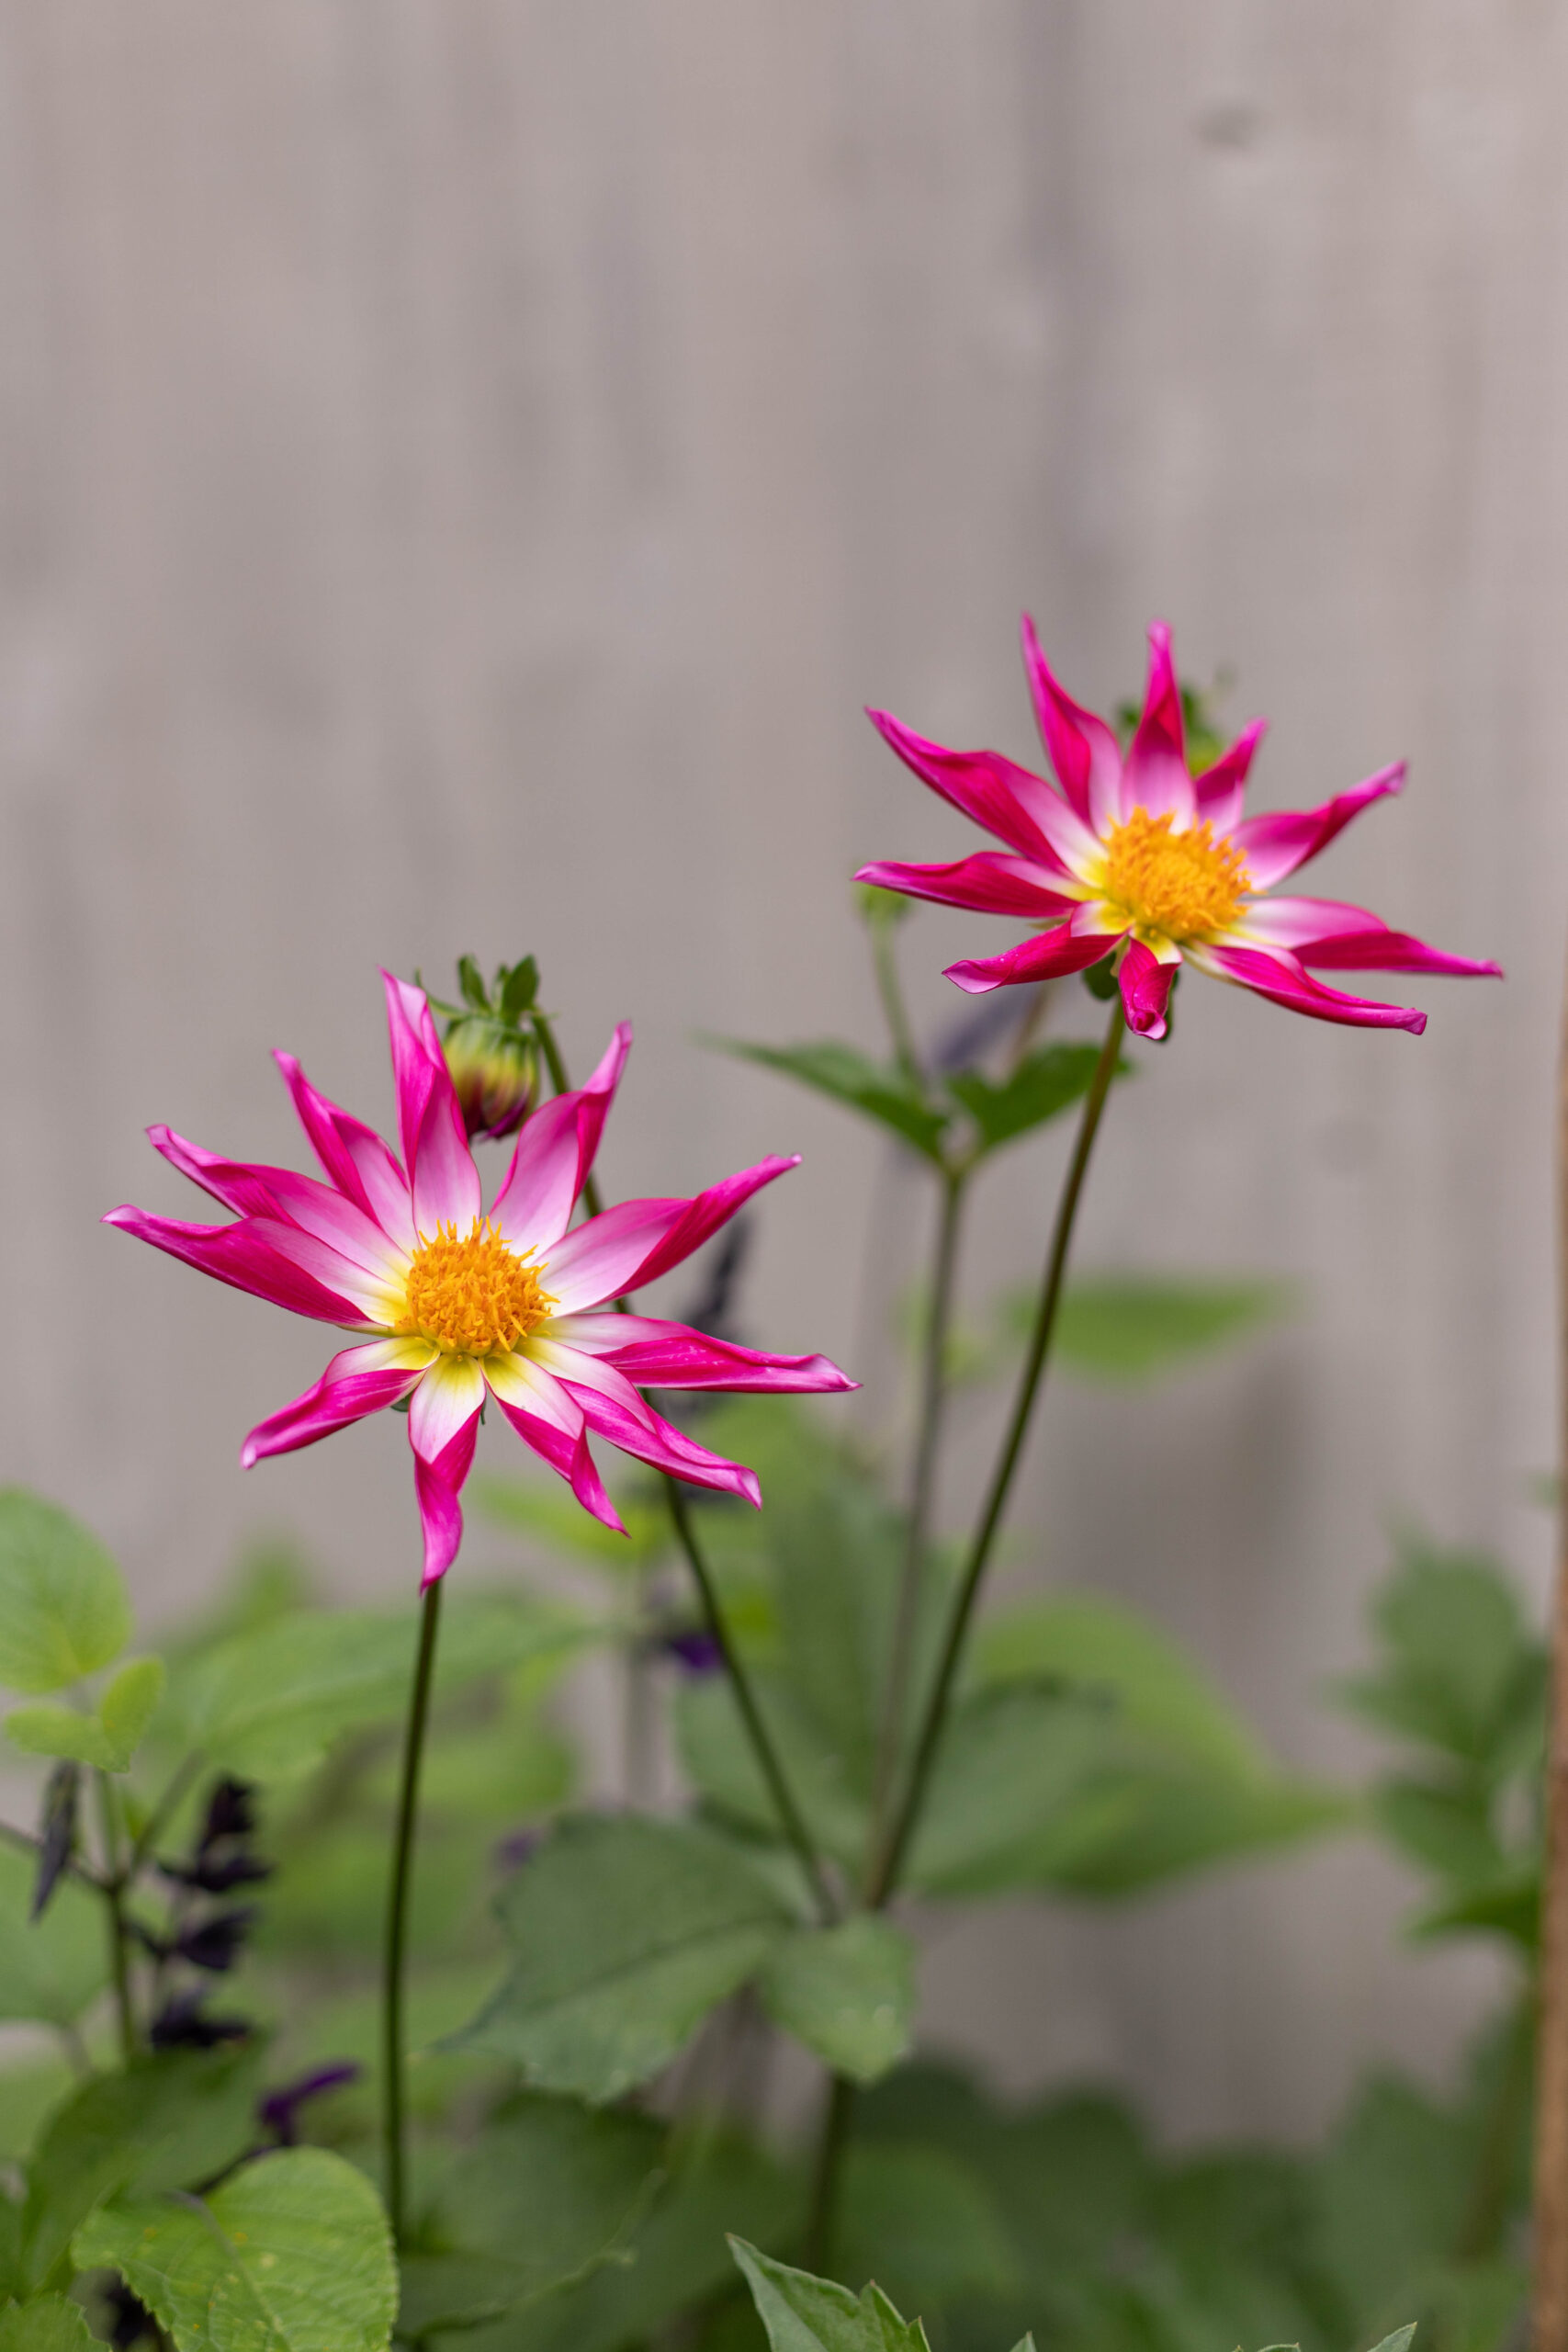
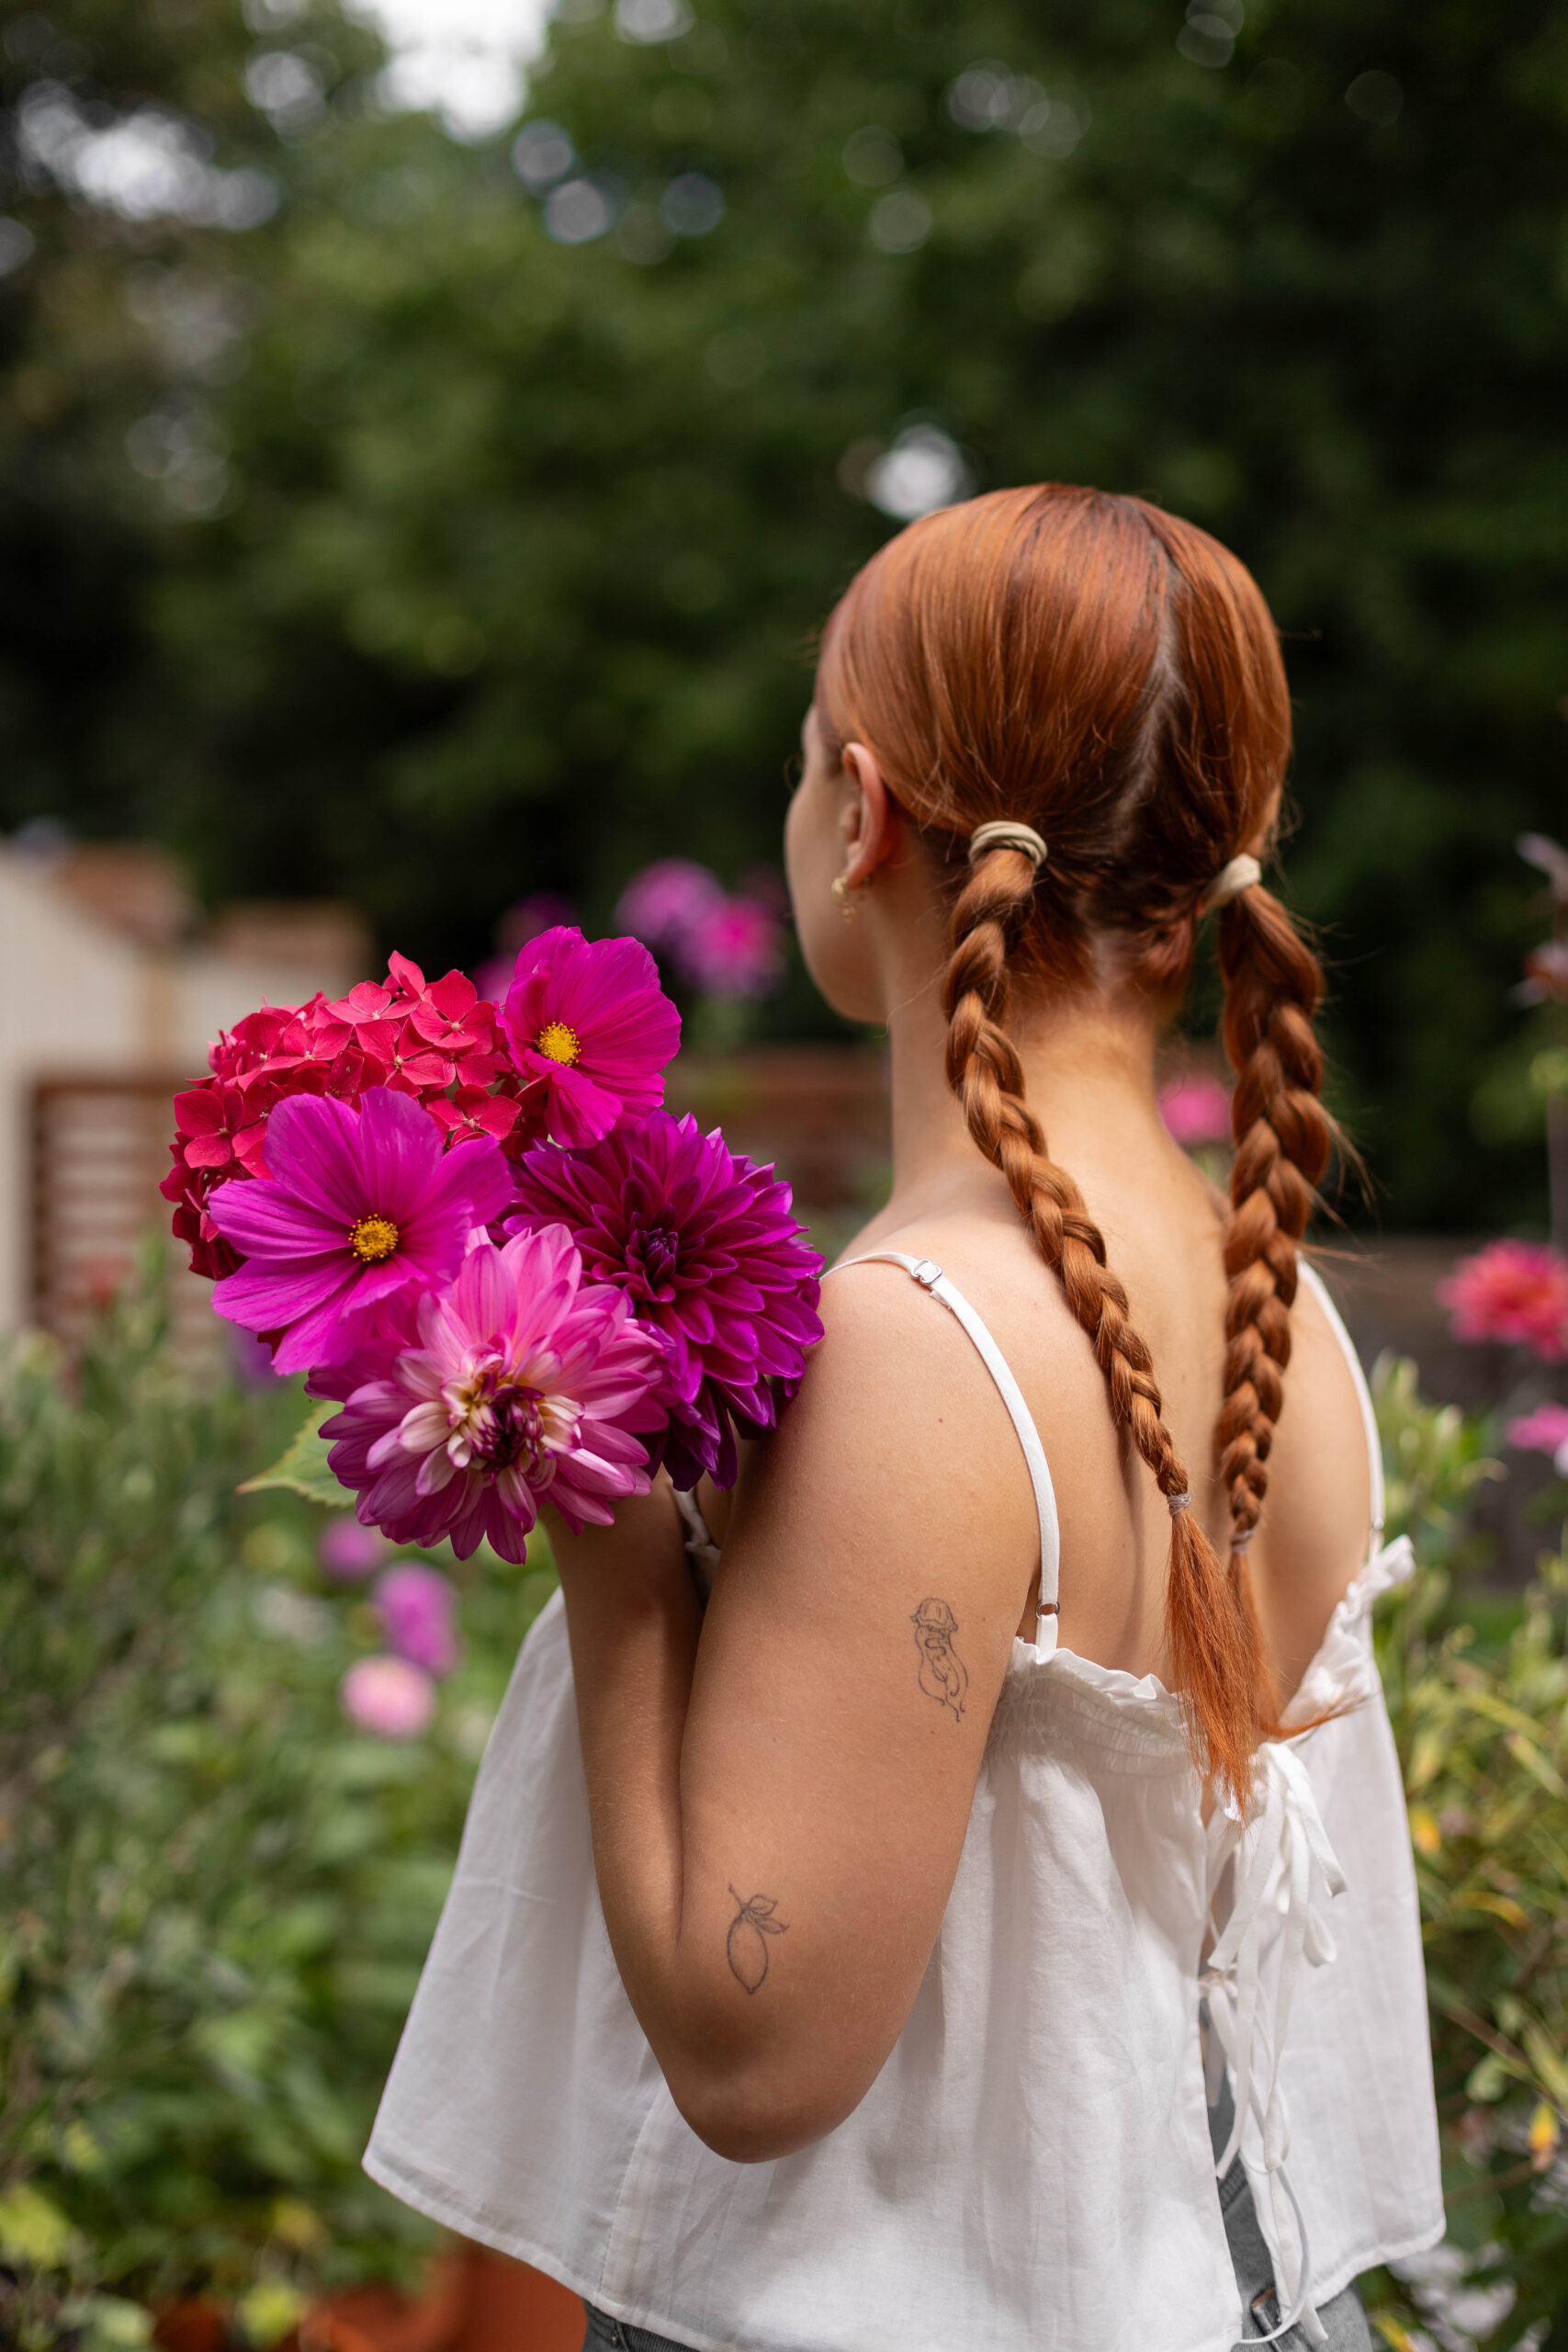
Your planting schedule will vary depending on what it is you’re hoping to grow, but to get you started, here’s what I follow for a mid-terrace container garden prioritising flowers over produce.
August/September
I start thinking about my Spring bulbs. Spring bulbs get planted in Autumn, lie dormant over winter, and then when temperatures rise and the soil starts to heat up in spring, the bulbs wake up to meet the sun.
October/November
I plant my Spring bulbs.
January/February
I start to think about my summer blooms and produce. I love dahlias so I order mine around this time, the earlier the better because the most coveted varieties will sell out before the faintest whisper of spring.
March
It’s time to start sowing seeds! Some people start even earlier than March if they have greenhouses or somewhere to store all of the growing seedlings, but mine live on my coffee table in the living room window so I can’t go too wild. You don’t want your seedlings to grow too large before they’re able to go outside so trying to strike the right timing balance is key.
April
I start my dahlia tubers in pots. I’ll bring them indoors overnight or during the day when the temperatures drop because dahlias are tender and not frost-resistant, so they need to be protected until the risk of frost has passed.
May
Possibly the most exciting and busiest month in the gardening calendar. By this time my tulips have reached the end of their flowering season so I dig them up. You can leave tulip bulbs in the ground to reappear next year but you need to let all of the foliage die back first, and I don’t have the space or patience to do this. With limited room, I need beds and pots for my tubers.
The risk of frost has passed so I’ll transport my seedlings outdoors into their growing positions.
I’ll also pot up my dahlia tubers to larger containers and pots.
June
June is a great month for picking up established produce plants, things like tomatoes, peppers and chillis that have been started elsewhere and just need a month or so to fruit. B&Q is unbeatable for these.
August/September
Start thinking about Spring bulbs again!
If you’re looking to prioritise produce then your schedule will look different.
It will also look different if you’re not bothered about tulips or dahlias and instead want to create a low-maintenance garden full of hardy perennials and shrubs.
On top of that, there are seasonal jobs like repotting/moving roses that need to be executed at particular points of the year to coincide with the plant’s life cycle.
The best way to plot your garden schedule is to figure out what you want to plant first and then build from there.
 Idle Waters: Quaint Cottage Countryside Retreat
 Why Solo Travel & Why Now? What Solo Trips Mean To *Us*
 Unplugged Retreat: A ‘No Phones’ Countryside Break
 New Home Tour


