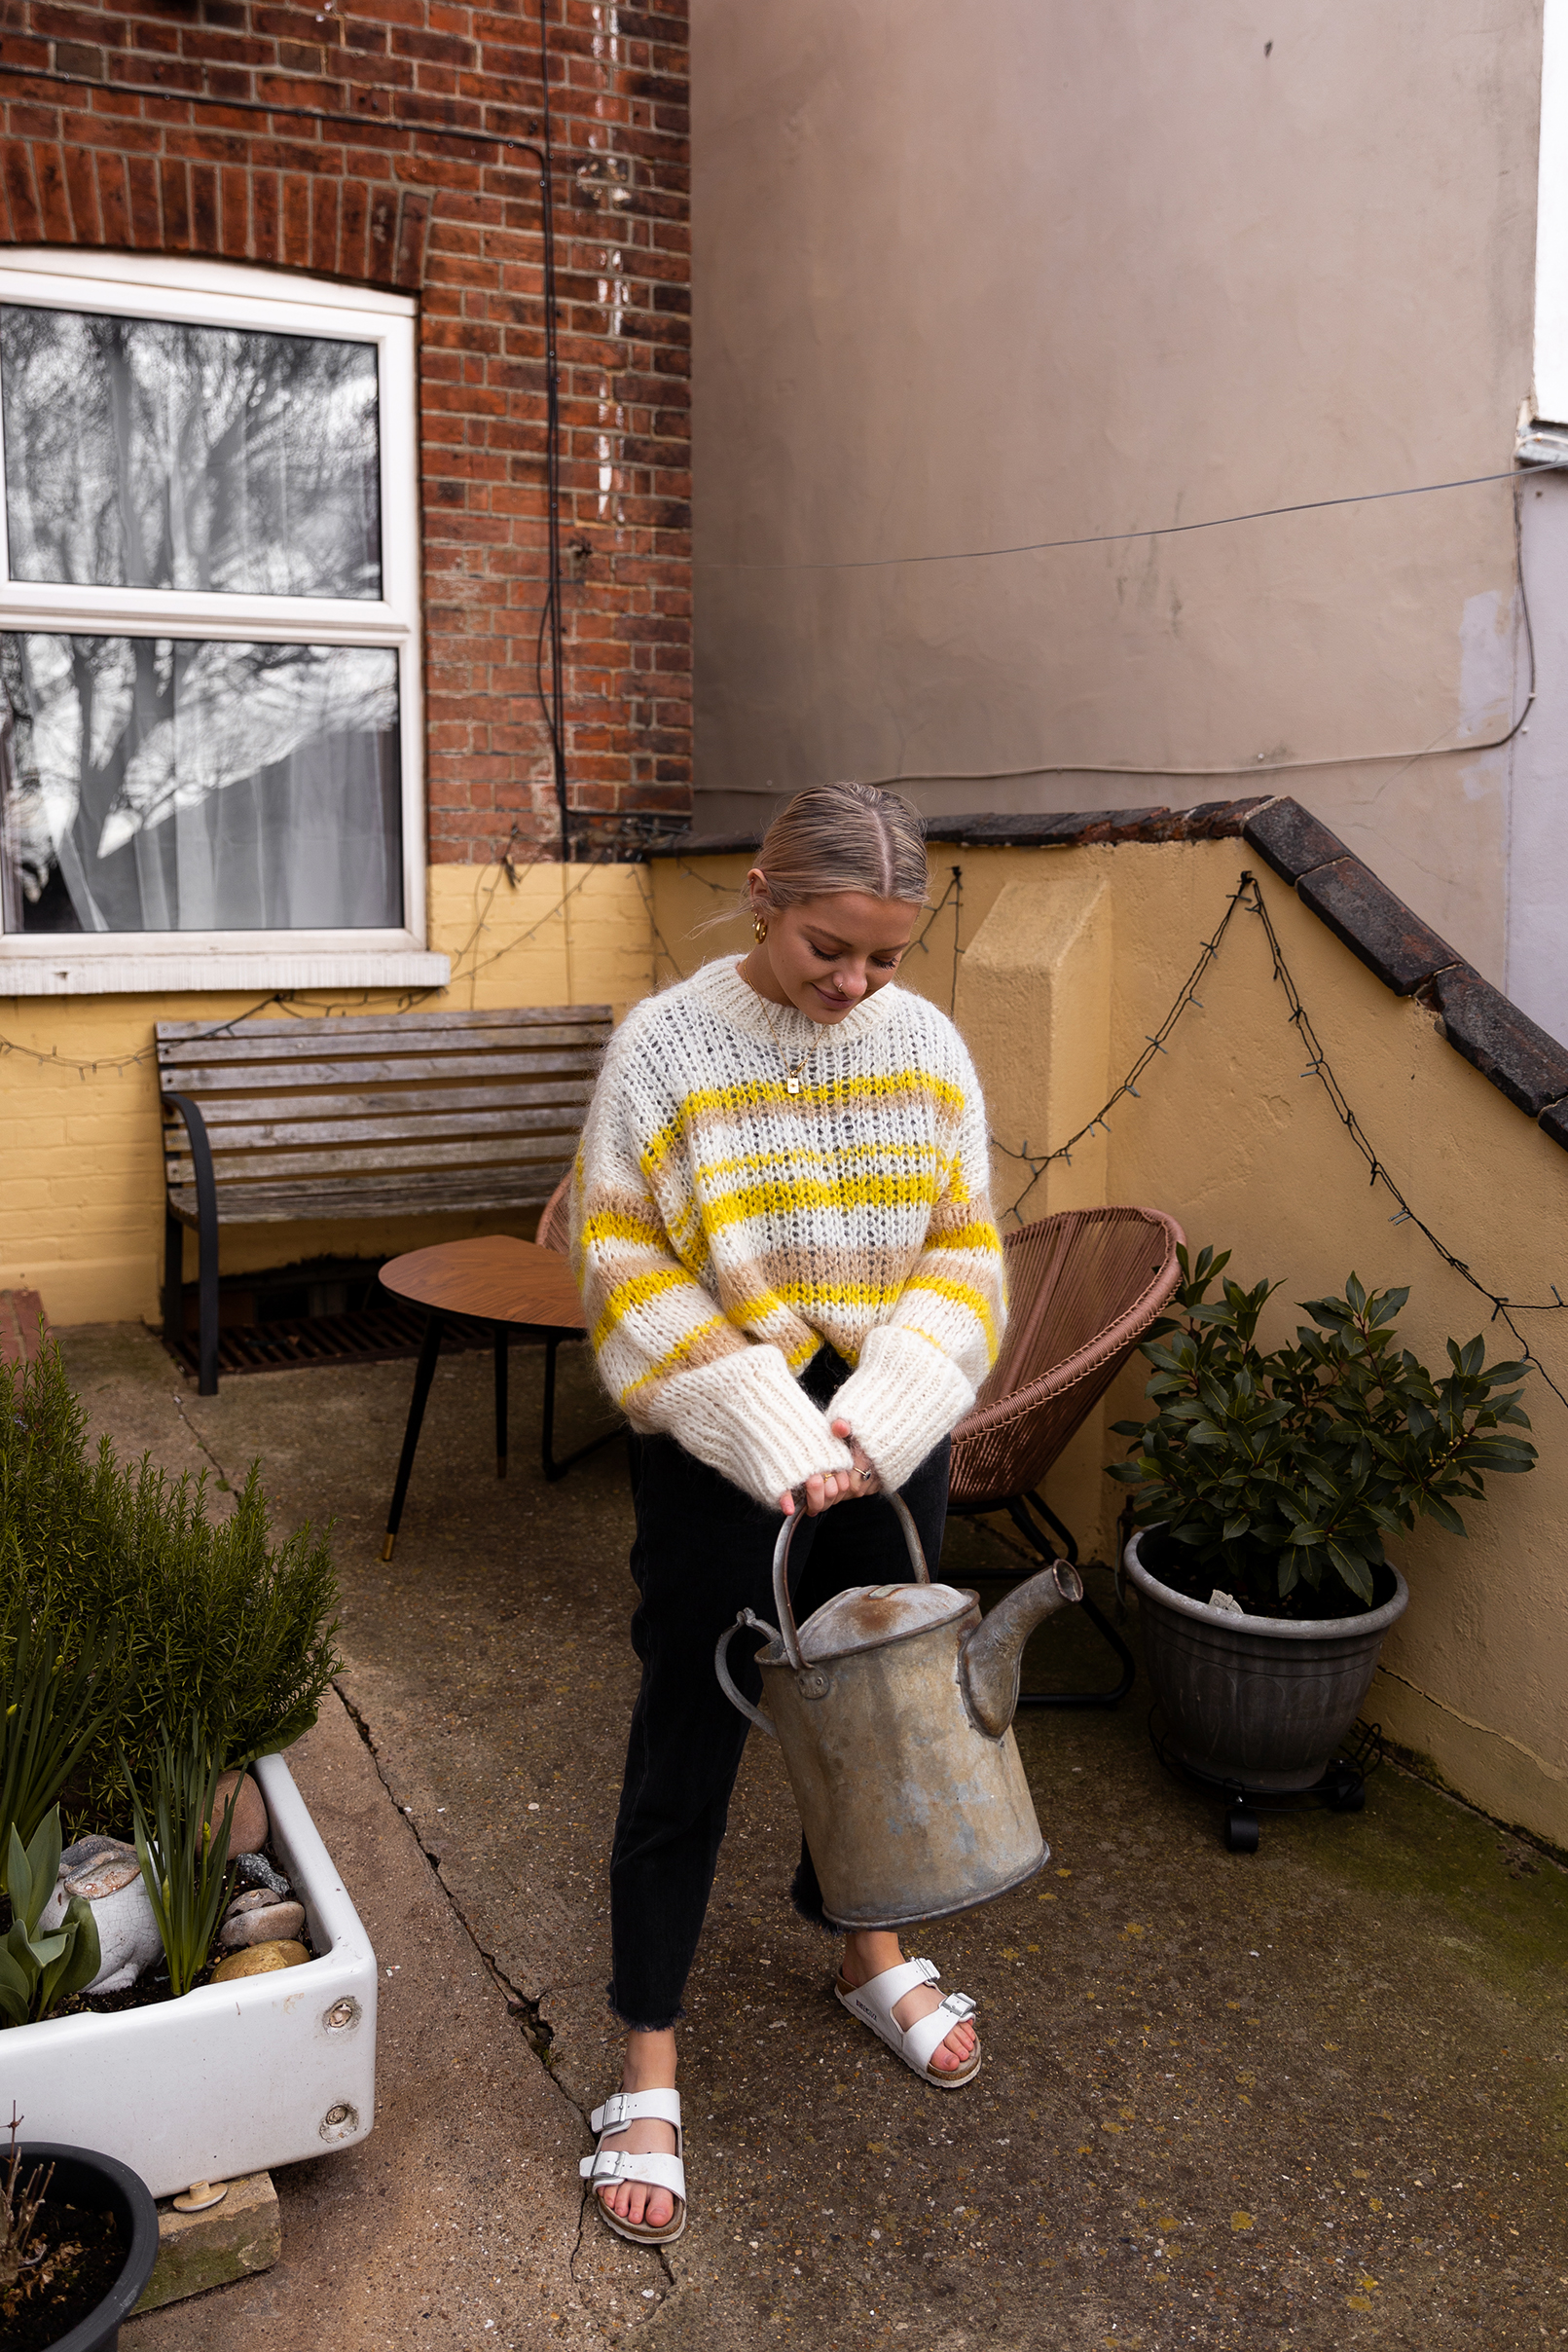
Hello my green-fingered friend. Are you interested in growing some herbs and veggies this summer, regardless of your available space? If you answered yes, then you’re in the right place. If no, then I can only assume you stumbled across this post by mistake or accidentally swiped up thinking I was talking about gardening of a different kind. Either way, I’d recommend sticking around. You may not think you have it in you to grow some plants from scratch, but the tools you need are minimal, the space you need can almost be nil (that’s right - even a windowsill will do!), and the reward is so, so great. Plus there is the bonus of amplified bragging rights to the elders in your friend and fam circle: “a Millennial growing veg??? I NEVER”.
A big thank you to my beautiful Mum (Karen, although she prefers to be known as Kaz) who is going to be helping me with this series. She’s the brains behind it all so if you have any questions at all, direct them my way and I shall ask the maestro for her assistance.
There are endless options for what you can grow this summer, but Mum and I have collated a shortlist of options which are easy to come by either in baby plant form or seed form, and which can be easily managed (especially for beginners). We’ve separated the list into veg/herbs you need to germinate on a window with and then move outside once it’s warmed up, and veg that can handle being planted straight outside.
What you can grow on a windowsill.
These little babies need warmth to germinate, so pop them on your windowsill first and once they’ve come up 3-4 inches and we’ve pricked the best seedlings out (don’t panic if you don’t understand wtf that means - more on that later), we can move them outside. To start with, you may need a seed tray depending on which item you decide to grow.
Eco tip: you can re-use grape punnets/tomato cartons instead of buying a seed tray. Just make sure there are holes in the bottom for drainage (essential!) and you pop them on a tray to avoid leakage, and you’re good to go.
If you don’t have the resources (time, money, know-how) to grow from seeds, you can buy young vegetable plants fairly cheaply from local garden centres and you’ll be able to skip straight to the main bulk of growing. I’ve mentioned below which plants will need moving to larger pots when the risk of frost has passed and we pop them outside, but we have time to worry about that later.
- Chillies (after germination, move to a small pot. Will need a larger pot.)
- Tomatoes (after germination, small pot. When moved outside, this will need to be moved into something larger, but we’ll cover that in a later post.)
- Chives/Mint/Basil/Lemon Thyme/Parsley (no need for a seed tray - straight into a small pot. These does not need to be moved into anything larger, so are very easy growers.)
- Courgettes (after germination, move into a small pot. Will later need a larger pot.)
- Bell peppers (after germination, move into a small pot. Will later need a larger pot.)
What you can grow in the garden.
These babes are a little more hardy and can germinate in cooler weather, so we’re (hopefully) safe to pop them straight outside. The containers you’ll need for these are a little larger, so I’ve noted the variety next to the plant and provided a little more info on the specifics in the equipment checklist below.
- New potatoes/salad potatoes (deep container. Less potatoes = a greater crop yield because they aren’t fighting for nutrients in the soil, so plant sparingly. Around 3-4 potatoes per tub will do. Only pack in 6 inches of soil to begin with - the pots need to be recovered a few times, so leave space.)
- Salad leaves (can grow in any type of container - the key is to pick the leaves regularly or they will ‘bolt’, which means they will throw out seed things and basically taste a bit minging.)
- Red and/or white onions (deep container. 10 onions per tub, evenly spaced out.)
- Carrots (deep container or a collection of deep pots.)
Recommended combinations.
If you’re a total beginner then that’s potentially a lot of new information to take it, so Mum and I thought we’d simplify the choices somewhat and offer a few combinations depending on the space you have available. Those without outside space - you have not been forgotten! Anybody can grow something, even if you only have one sunny windowsill or a solo windowbox.
- Zero outside space: chillis and herbs can all be grown-full term from a windowsill, hanging planter or window box.
- Balcony space: If you only have a little balcony and you’re limited on your outside space, then why not try tomatoes, chillis, peppers, the herbs of your choosing and salad leaves.
- Concrete garden/small outside space: This is the category I fall into. Our garden is all concrete and sloped to boot, so we’ve created some raised beds (a post to come on this later) and filled the space with lots of pots and containers ready for growing. If this is you, try all of the above with the addition of potatoes, carrots, onions and courgettes in tubs.

Equipment: what you’ll need.
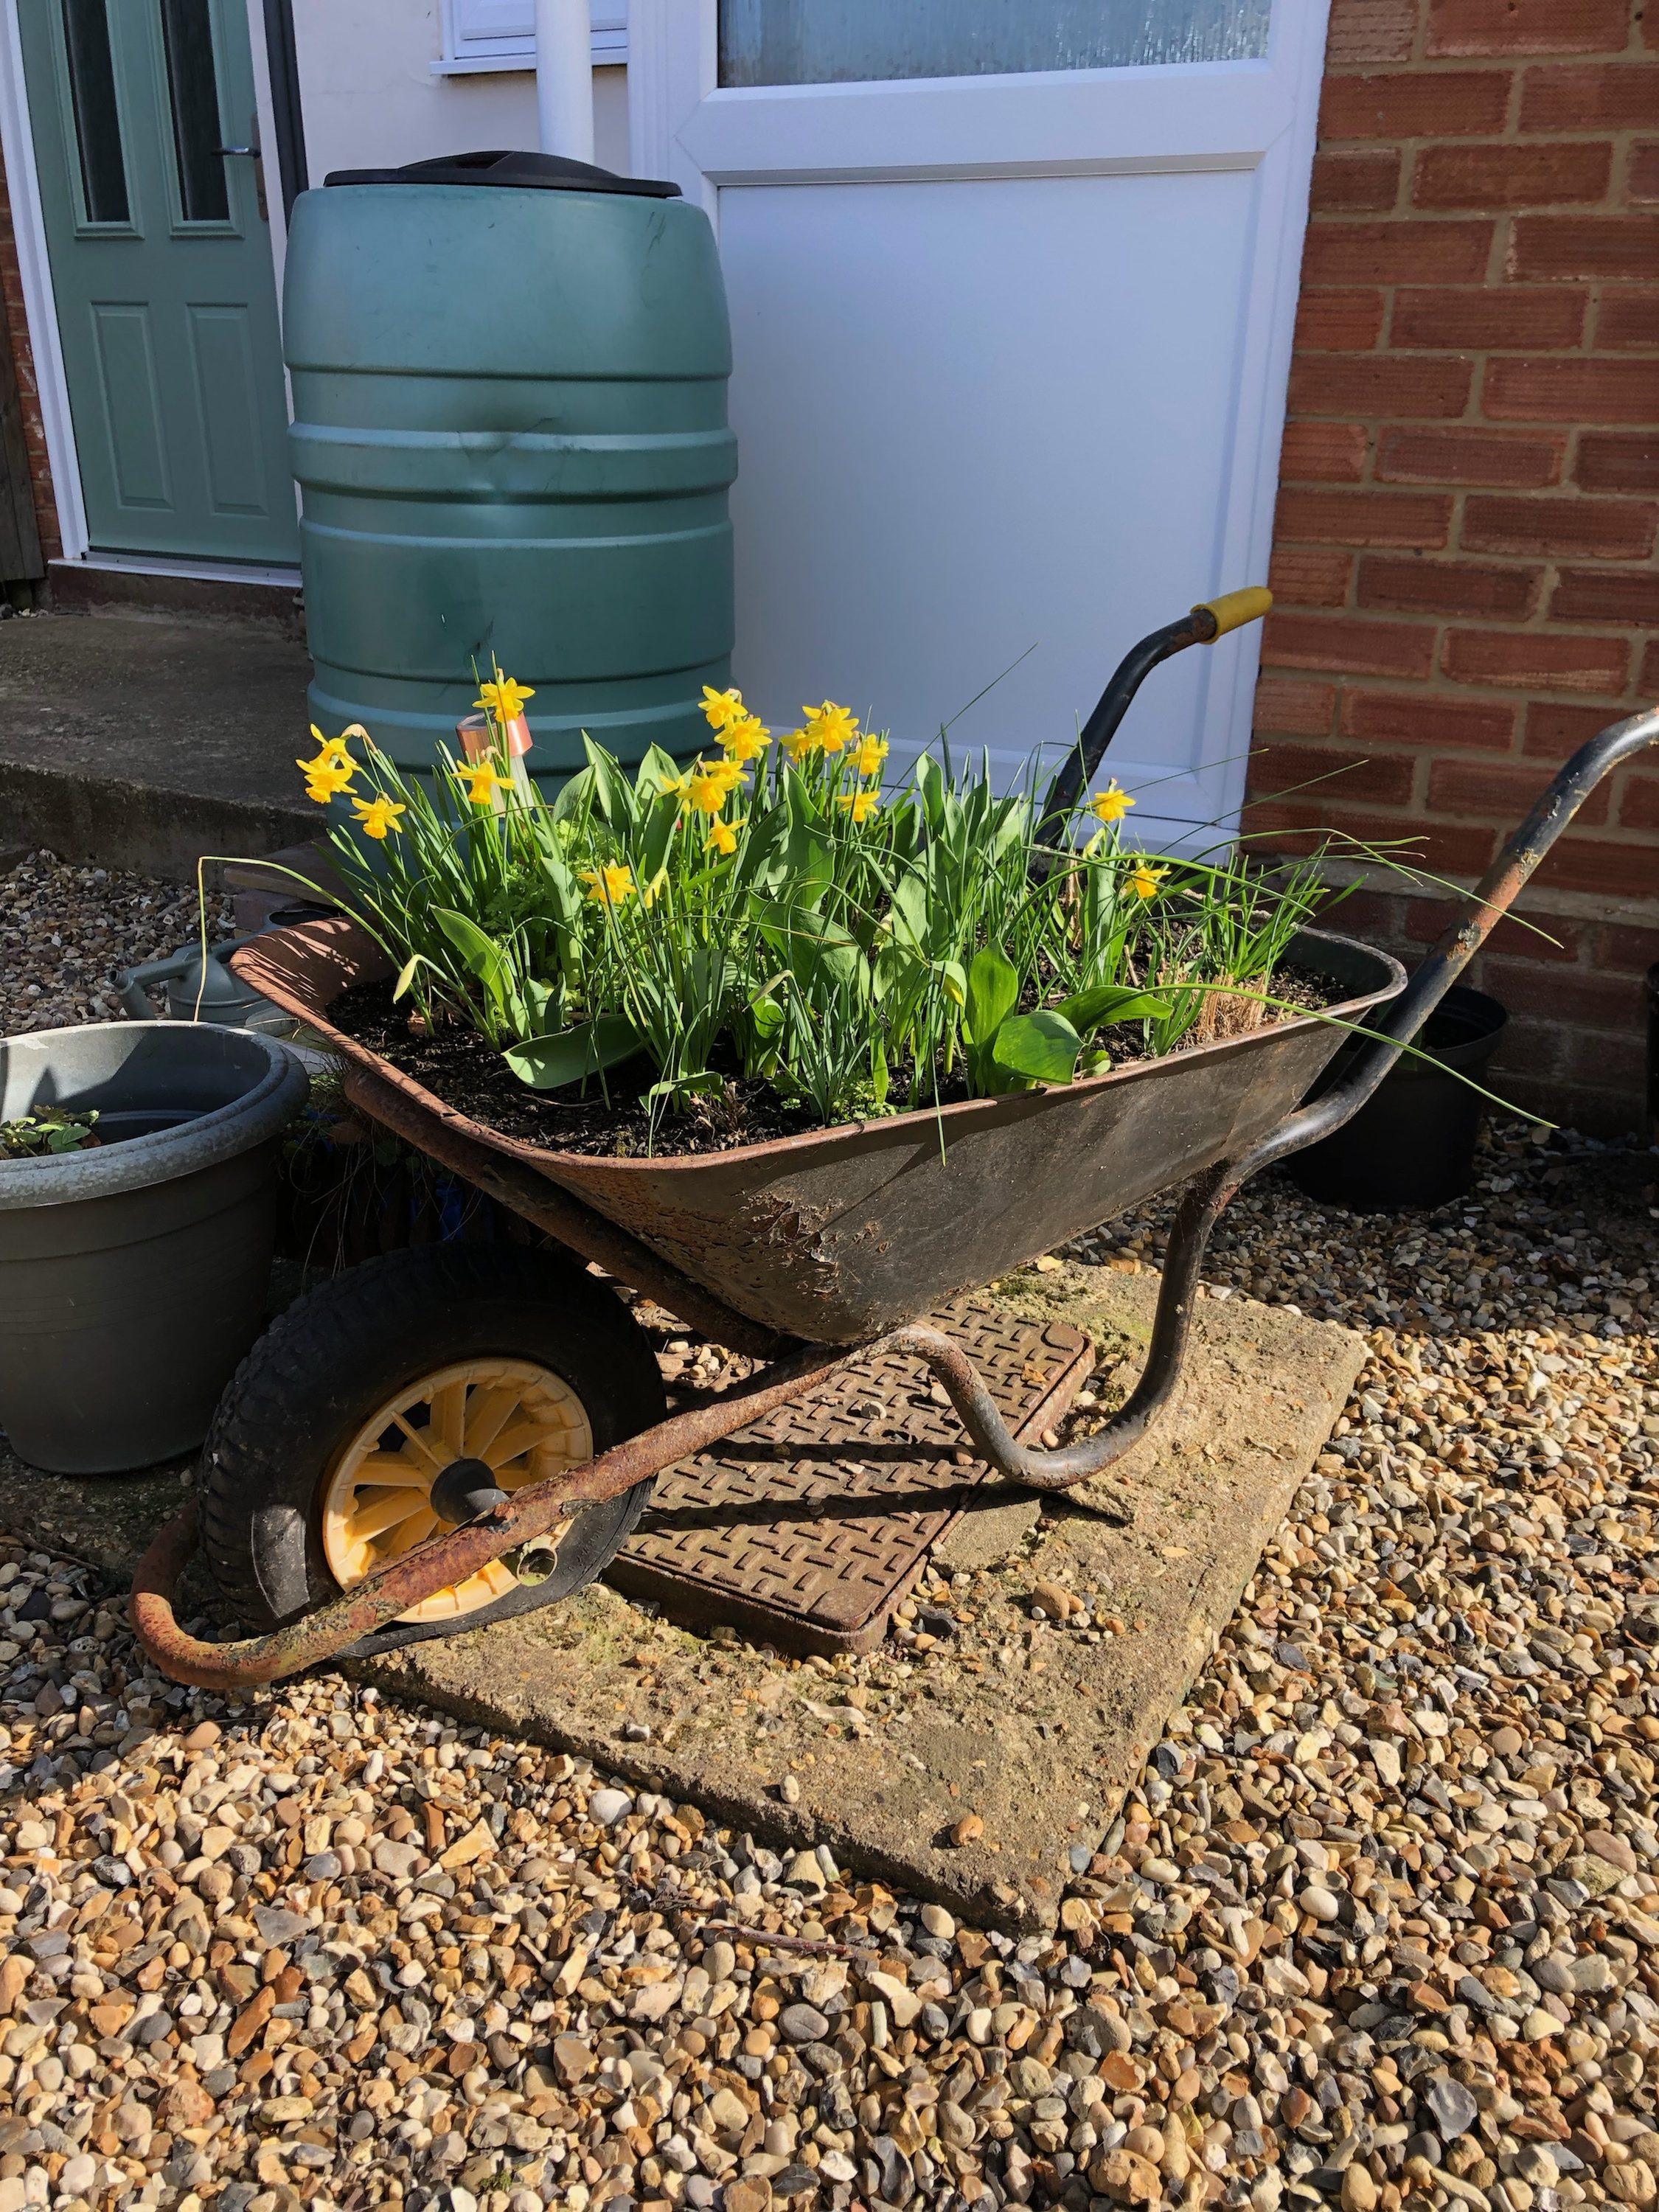
Eco tip: According to Mum, anything can be a container as long as it’s deep enough and there are holes in the bottom for drainage. Get creative with it - you can use wheelbarrows, old sinks, watering cans, buckets etc.
- Seed trays: depending on what you’ve decided to grow, you may need seed trays. As mentioned before, you can re-use tomato or grape punnets instead of buying something new. As long as there are holes in the bottom for drainage, you’re good.
- Containers: 6 inches is the minimum depth, with root crops (such as carrots) needing at least 12 inches, and big bois like potatoes needing 24 (they need to routinely topped up with new soil, but we’ll cover this in a later maintenance post). Have a potential container but without holes in the bottom? No sweat, you can punch those through yourself. Don’t use a hammer and nail for plastic tubs as this will split the material; instead drill the holes or burn them. Although terracotta pots look better they do tend to soak up moisture and are much more expensive, so find some second-hand plastic tubs or an alternative recycling option. Old storage containers from under the bed would work perfectly.
- Compost: if you have bags and transport, local councils will sometimes allow you to bag your own compost from community gardens for free. Otherwise, buy as much compost as you think you’ll need for the veggies and herbs chosen, then get a little extra. Make sure to check the capacity of your tubs. You can buy compost from Amazon and have it delivered next day/same day via Prime, or you can order from any general gardening store online. For outside plants, put your container in place before filling with compost, otherwise you might find it’s a tad too heavy to shift around!
- Basic gardening tools: you’ll need a trowel, a handfork, gloves (washing up Marigolds will do), labels (you can use old margarine tubs instead of buying new labels), indelible marker, and a watering can. If you don’t have the tools, don’t panic. You can improvise most of the above or borrow from a neighbour.
Whew! That’s the prep done. Get ordering and sourcing for all of the bits you’ll need, because next week we’ll be covering the first steps of planting, germination, pricking out and care.
Have a question? Comment down below or pop across a message on social, and we’ll get back to you ASAP with a little assistance. 🙂
Welcome to the Bougie Gardening Club!
 Idle Waters: Quaint Cottage Countryside Retreat
 Why Solo Travel & Why Now? What Solo Trips Mean To *Us*
 Unplugged Retreat: A ‘No Phones’ Countryside Break
 New Home Tour


